StoreConnect’s Website Builder is a simplified and highly visual means to make page and content block changes on your store whilst being able to preview all changes live on the website as you make them. These changes you make will not affect your live site until they are published later.
This is similar to many common WYSIWYG (What You See Is What You Get) website editors and so will be very familiar and helpful to anyone who has worked with drag-and-drop website builders before or who otherwise doesn’t have website coding experience.
Prerequisite
The Website Builder is accessible from a button in the top right corner of the Store record page. The button will only be visible to users who are assigned to a Store Role for making content changes.
The Store Role should be set to the Type of 'Content Changes', and then the desired level of access to the Website Builder.
| Store Role Object Field | Usage |
|---|---|
| Store Role Name | Something that makes sense to you and your team |
| Type | Picklist Value API Name = content changes |
| Level | Picklist Value API Names = approver / commenter / editor |
Website builder user interface
Upon opening the website builder you will see the store’s home page with a simple user interface surrounding it.
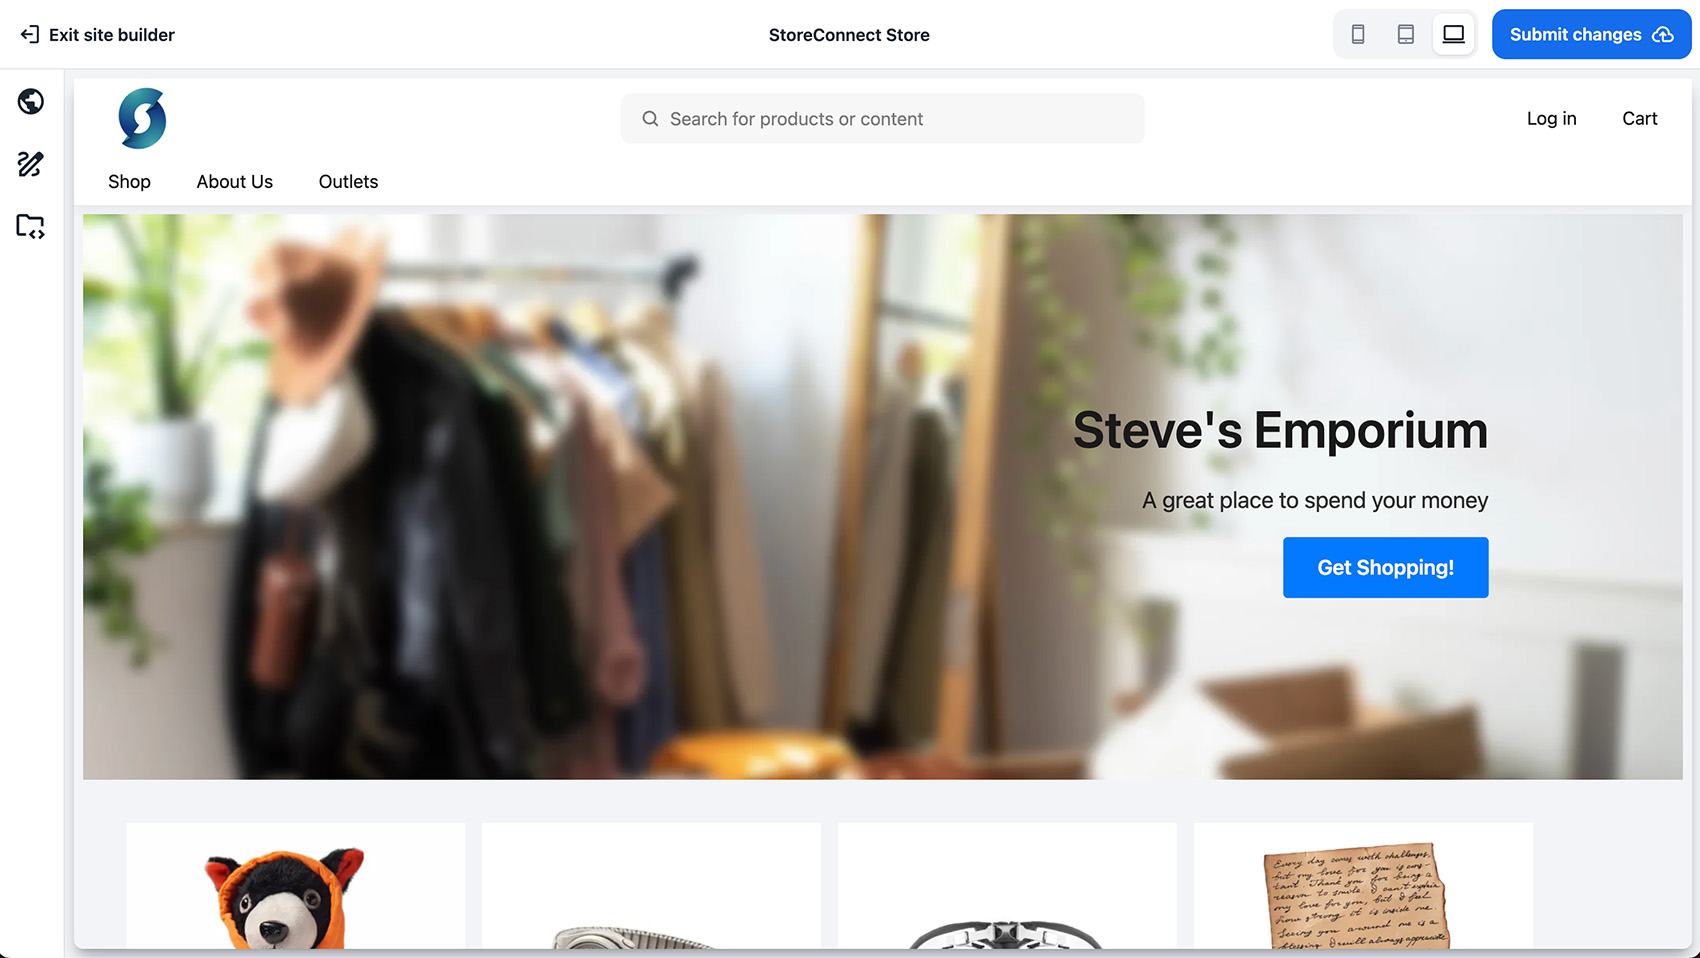
In the top panel you have options to exit the site builder, preview the website’s responsiveness on different devices as well as submit all changes for approval made once you have finished editing.
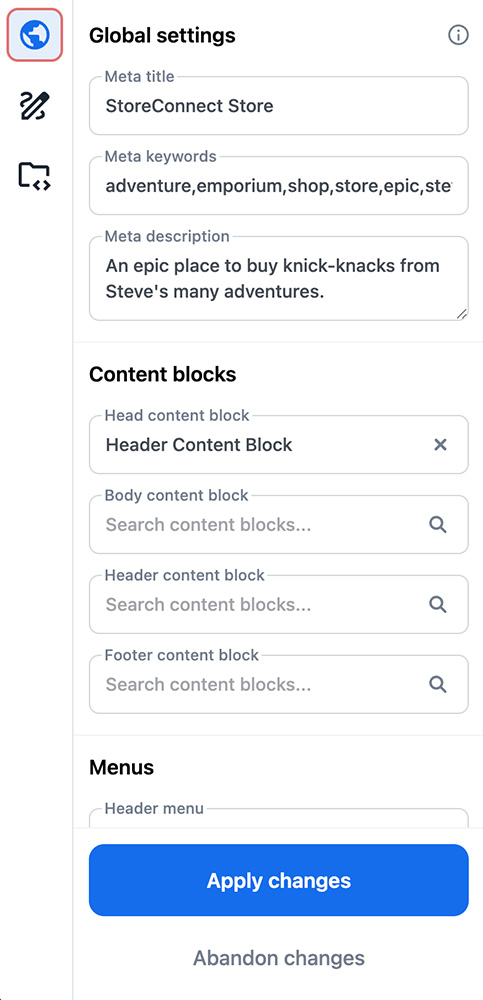
On the left side panel you have 3 icons in the menu to change the global website parameters. All changes made here relate to the fields on the Store record.
- Global Settings
- Global CSS
- Global JavaScript
Within the Website Builder you are able to navigate to different pages of your website by clicking on the menu links as you normally would in a browser.
Hovering over or selecting areas of a page will highlight those sections which can be directly edited. A toolbox will appear towards the right side which you can then use to modify each part. You are able to modify the Menu, Articles, Pages, as well as any individual Content Blocks within a page in this manner.
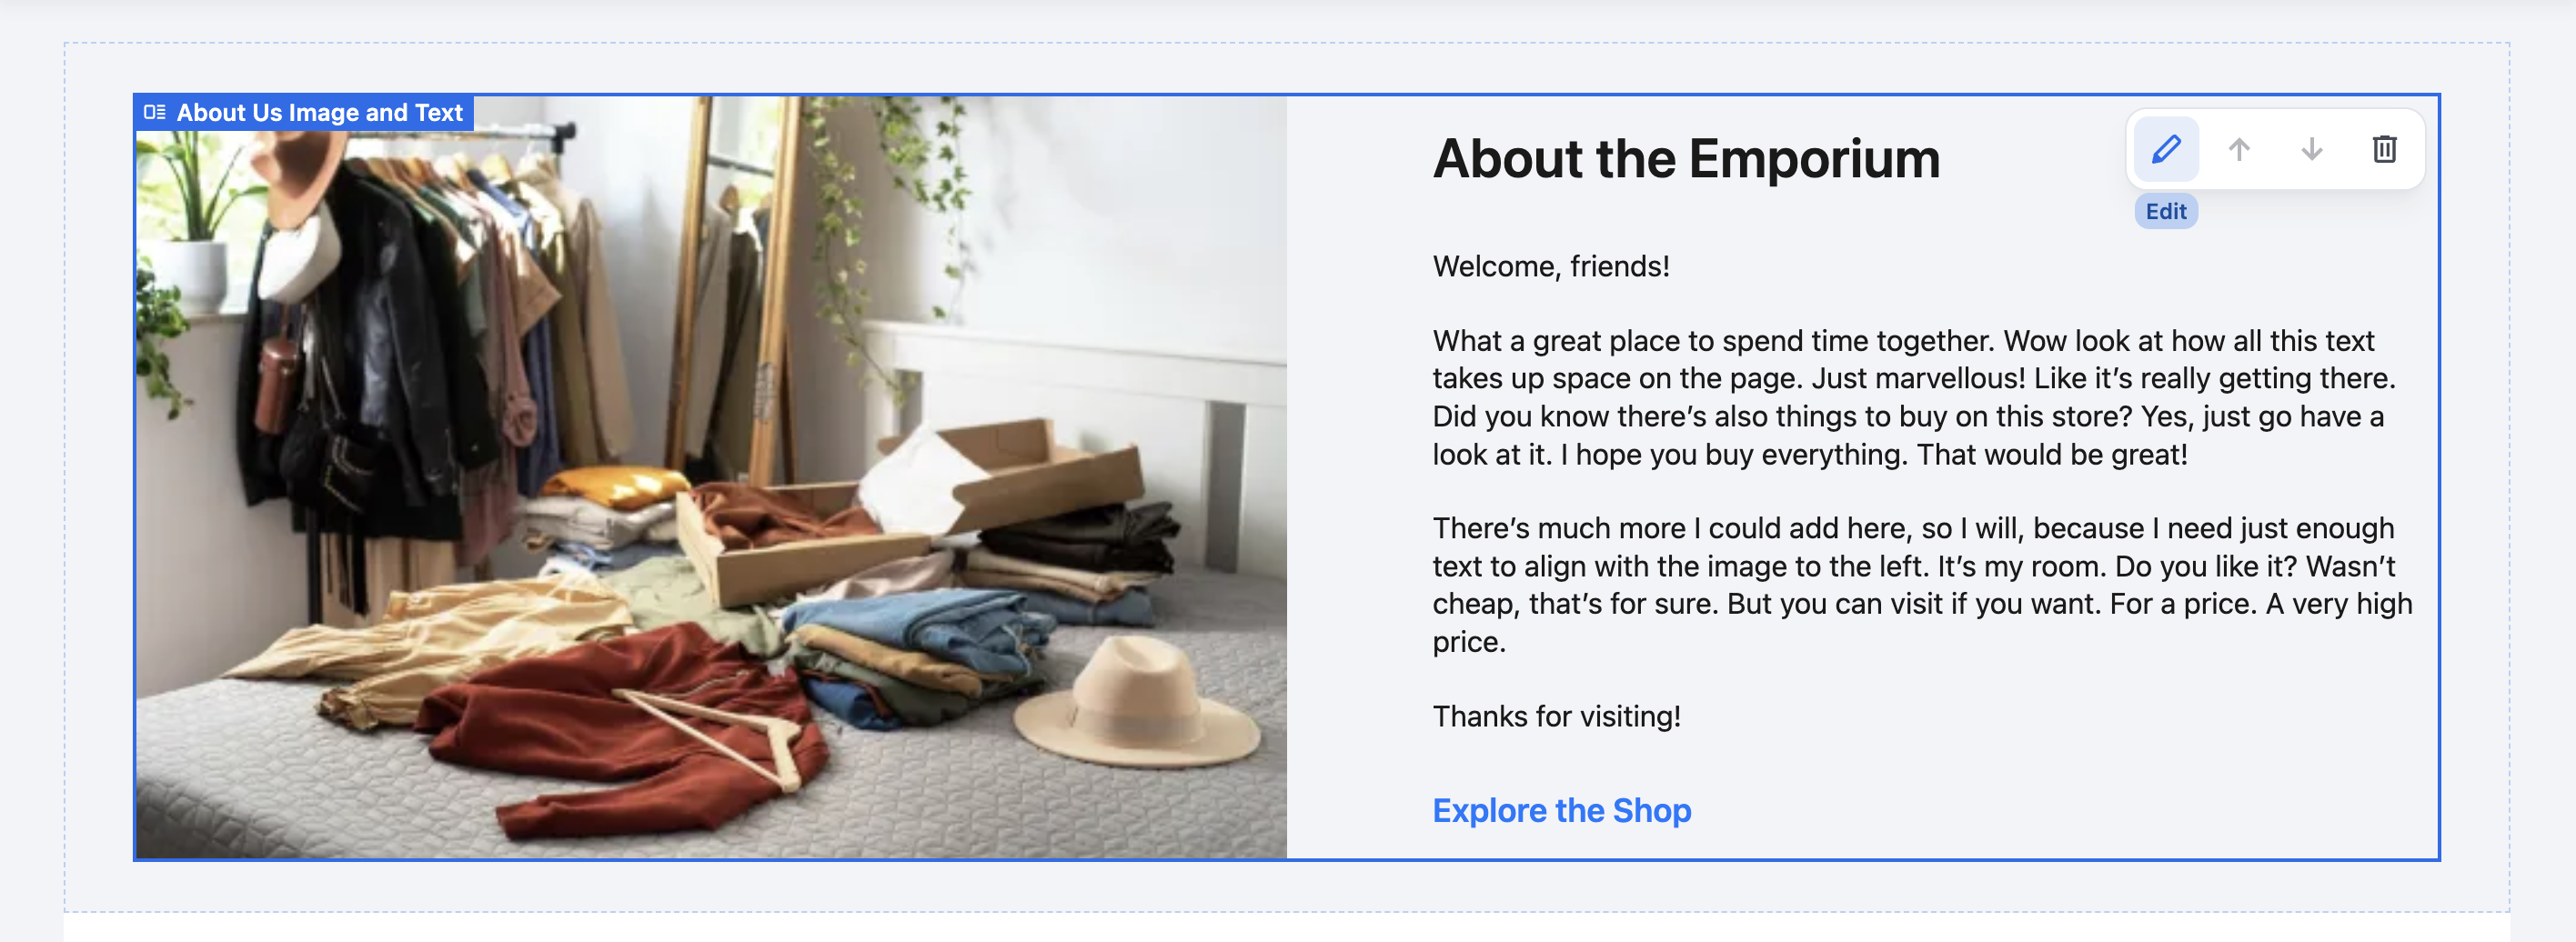
Content Blocks themselves can be rearranged, added or deleted. Deleting a Content Block within the Website Builder does not delete the actual Content Block record, it only removes its relationship to the page so that it will not appear on that page of the website.
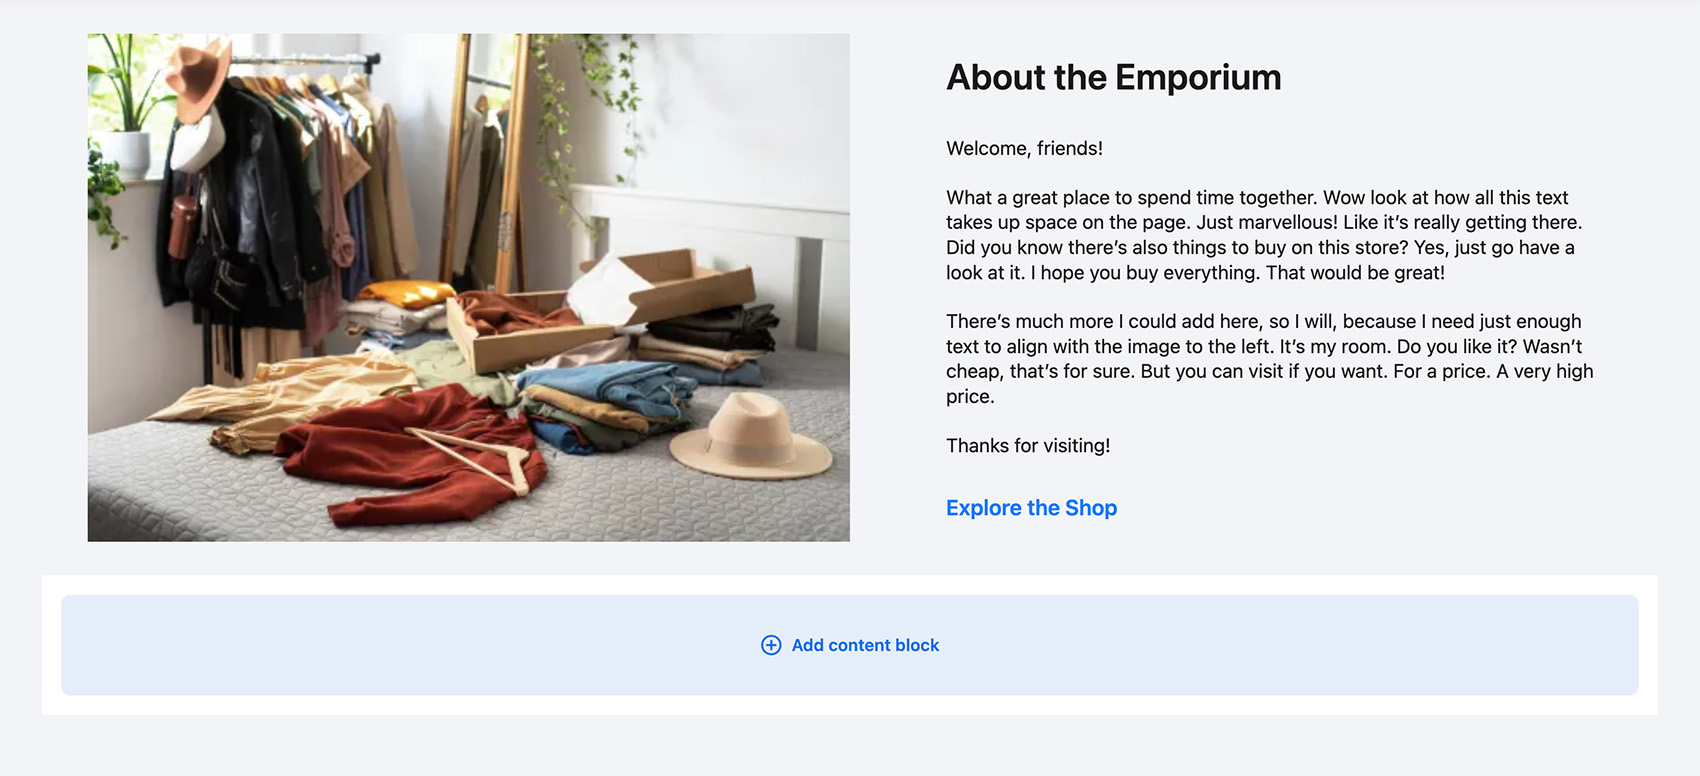
At the bottom of any page is the Add Content Block button which will allow you to select a new content block template and begin building new content blocks live on the page.
Submitting your changes
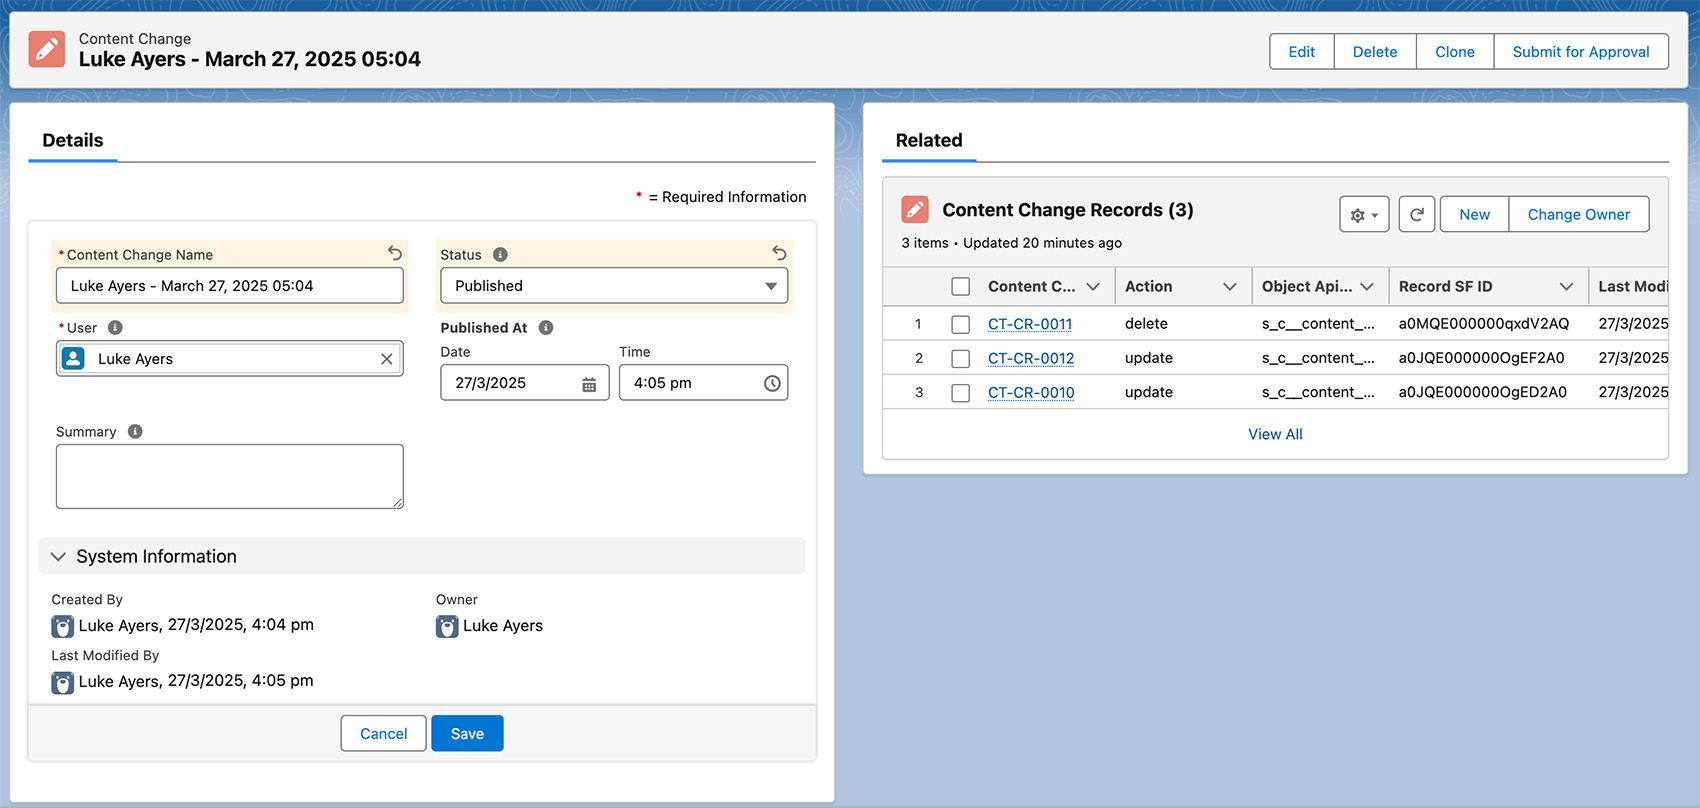
Once pressing the Submit Changes button, you will see the website revert to its original form. All your changes are now saved as a Content Change in Salesforce to be reviewed and published from there afterwards.
Reviewing and publishing content changes
A Content Change is a package of Content Change Records. Each individual Content Change Record is either a create, delete or update action and contains the details of that change.
From here in the back end, an authorised user is able to review every change made, make edits, or delete the change record if that change is not desired, and then finally move the status to 'Published'. This will then push the changes to the live website. Publishing can optionally be scheduled for a future date and time.