Square is a third party payment provider. If you use Square, you can integrate it directly with StoreConnect. Square works for:
- Standard checkout transactions
- Subscription payments
- GooglePay & ApplePay transactions
- Pre-authorization
- Enforcing additional security with 3D Secure (3DS)
Already have your credentials? Go to Configure Square for your online store.
What you need
- Square developer account
- Square credentials and location IDs
- Sandbox environment (recommended)
- Outlets set up in StoreConnect (POS only)
- Minimal code and admin know-how
Get square credentials
If you haven't got a Square developer account, create one and add an application.
Create a new application just for StoreConnect. Each Square app comes with access credentials for use in a Sandbox or Production environment. We recommend setting up a sandbox first, to test it works how you want. Then update to use the production credentials later.
- In Square, go to the Credentials page of your app.
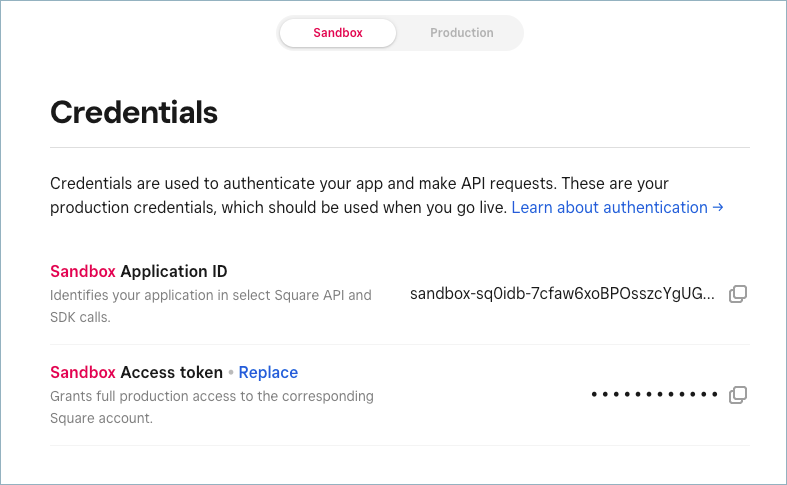
- Copy the Application ID and Access Token.
- Go to the Locations section and copy the Location ID.

Configure square in StoreConnect
- Open StoreConnect and go to Settings > Payments > Payment providers.
- Select New. Complete the fields as follows, then Save:
| StoreConnect field | Square data |
|---|---|
| Name | Square. For testing, add - Test. |
| Provider | Select Square from the list |
| API Mode | Enter sandbox or production |
| API Key | Application ID (from Square account) |
| API Secret | Access Token (from Square account) |
| API Options(Default location) | location_id: "YOUR_LOCATION_ID" |
| API Options (POS Locations only) | See below |
| API Options(Show Apple Pay and Google wallets at checkout) | show_wallets: true |
POS only: add POS locations to square
If you plan to use Square at multiple POS locations, you need to add each location to Square to generate unique Location IDs. See add locations in Square via API.
As part of the Square configuration in StoreConnect, you will them map the Location ID to the outlet record. Each outlet has a unique Salesforce ID (or SFID).
You'll need the SFID and Location ID to configure the payment provider in StoreConnect, below.
Copy the sfid for each outlet
- Open an outlet in StoreConnect.
- In the URL shown in your browser, copy the SFID, this will something like a24ao000001lE6zAAE

- Copy for mapping to the Square Location ID in the format outlined below. If you have many store locations, you might want to map this out on a spreadsheet for verification.
- Add the location information to the API Options section of the Square Payment provider in StoreConnect. This must be formatted as a code array as per below.
| API Options (for POS locations) | pos_outlets: { "a24ao000001lE6zAAE": "L003B9TTM5NC5", "a24ao000001gzZZAAY": "L003B9TTM5NC5", "default": "L003B9TTM5NC5"} |
|---|
Save the payment provider details. The payment provider setting might now look something like this:

POS only: add square POS payment options as a store variable
Like other payment methods, the Square POS option needs to be added as a Store Variable. You can configure this before or after pairing a Square device at a register, but ideally before.
- Open your store in StoreConnect.
- In the Store Variables section, select New.
- Name the variable: POS: Square payments.
- Enter the follow Key: pos.payment_options.card_square_integrated.enabled
- Enter True as the Value.
- Select Save.

POS only: pair square devices
The Square device uses a device code and cloud pairing, so internet access is required to pair. No USB or Bluetooth is required.
- Sign in to your POS terminal.
- Go to Settings > Integrated Payments.
- Select Square from the list. This should appear if it has been set up as per above.
- Follow the prompts to create and use the Device Code. This is the code you will use to sign in on the Square device.
- Confirm to pair.