An agent can be used internally, to help staff navigate product information and to provide advice. Or made available externally to your public customers. External agents can be trained to operate like a 24/7 sales rep and support provider.
Step 1: add an agent via agentforce studio
You’ll follow a kind of wizard to set up the agent.
Navigate to Agentforce Studio. You should see the following sections:
Agentforce Agents
Agentforce Assets
Testing Center
Go to Agentforce Agents.
Select + New Agent to open the Agent Creator.
Select Create with Gen AI.
In the What do you want your agent to do? field, enter a comprehensive and detailed description. Use plain, everyday language to describe the agent’s role and what you want it to be able to do. The generative AI engine will use this description to predict the topics you might need (later step).
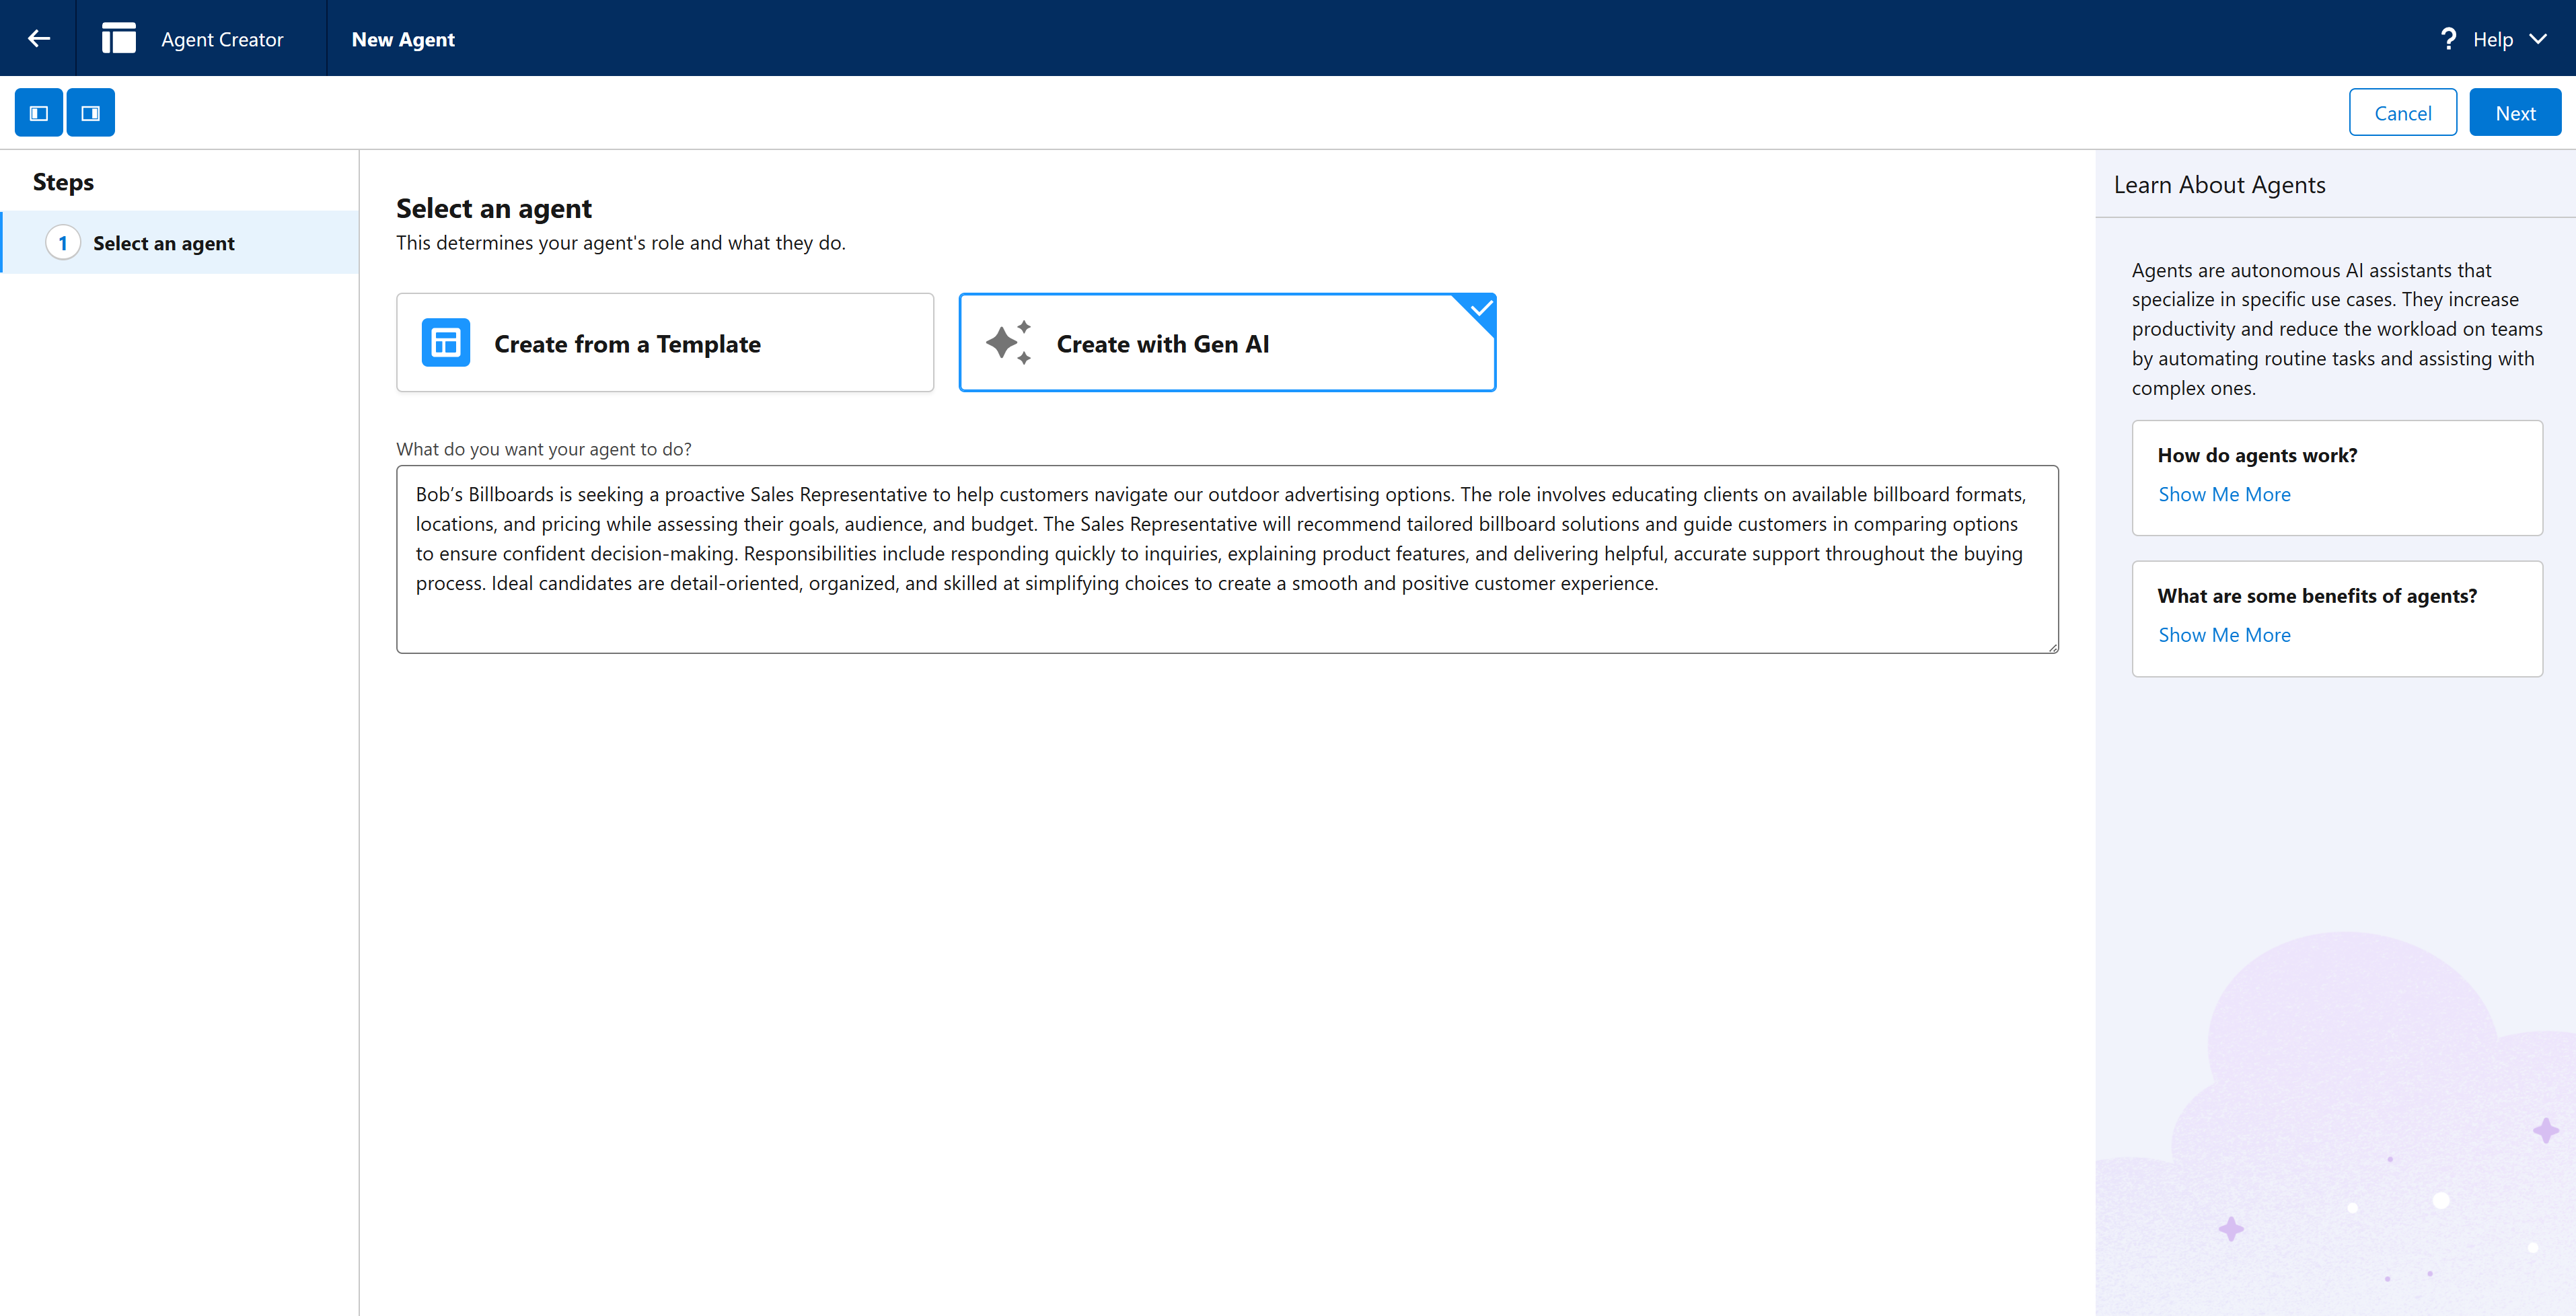
Select Next.
Step 2: basic agent customization
This is just a few basic customizations, not styling ones, which you will do later.
On the Customize your Agent screen, enter:
The agent’s Name,
An API Name.
The Company Name.
Company Description. You can also leave the default values.
If you have Data Cloud and want enhanced logging, select the Keep a record of conversations option.
Set up the Agent User if you want to specify one or leave the default and a New Agent User will be created anyway.
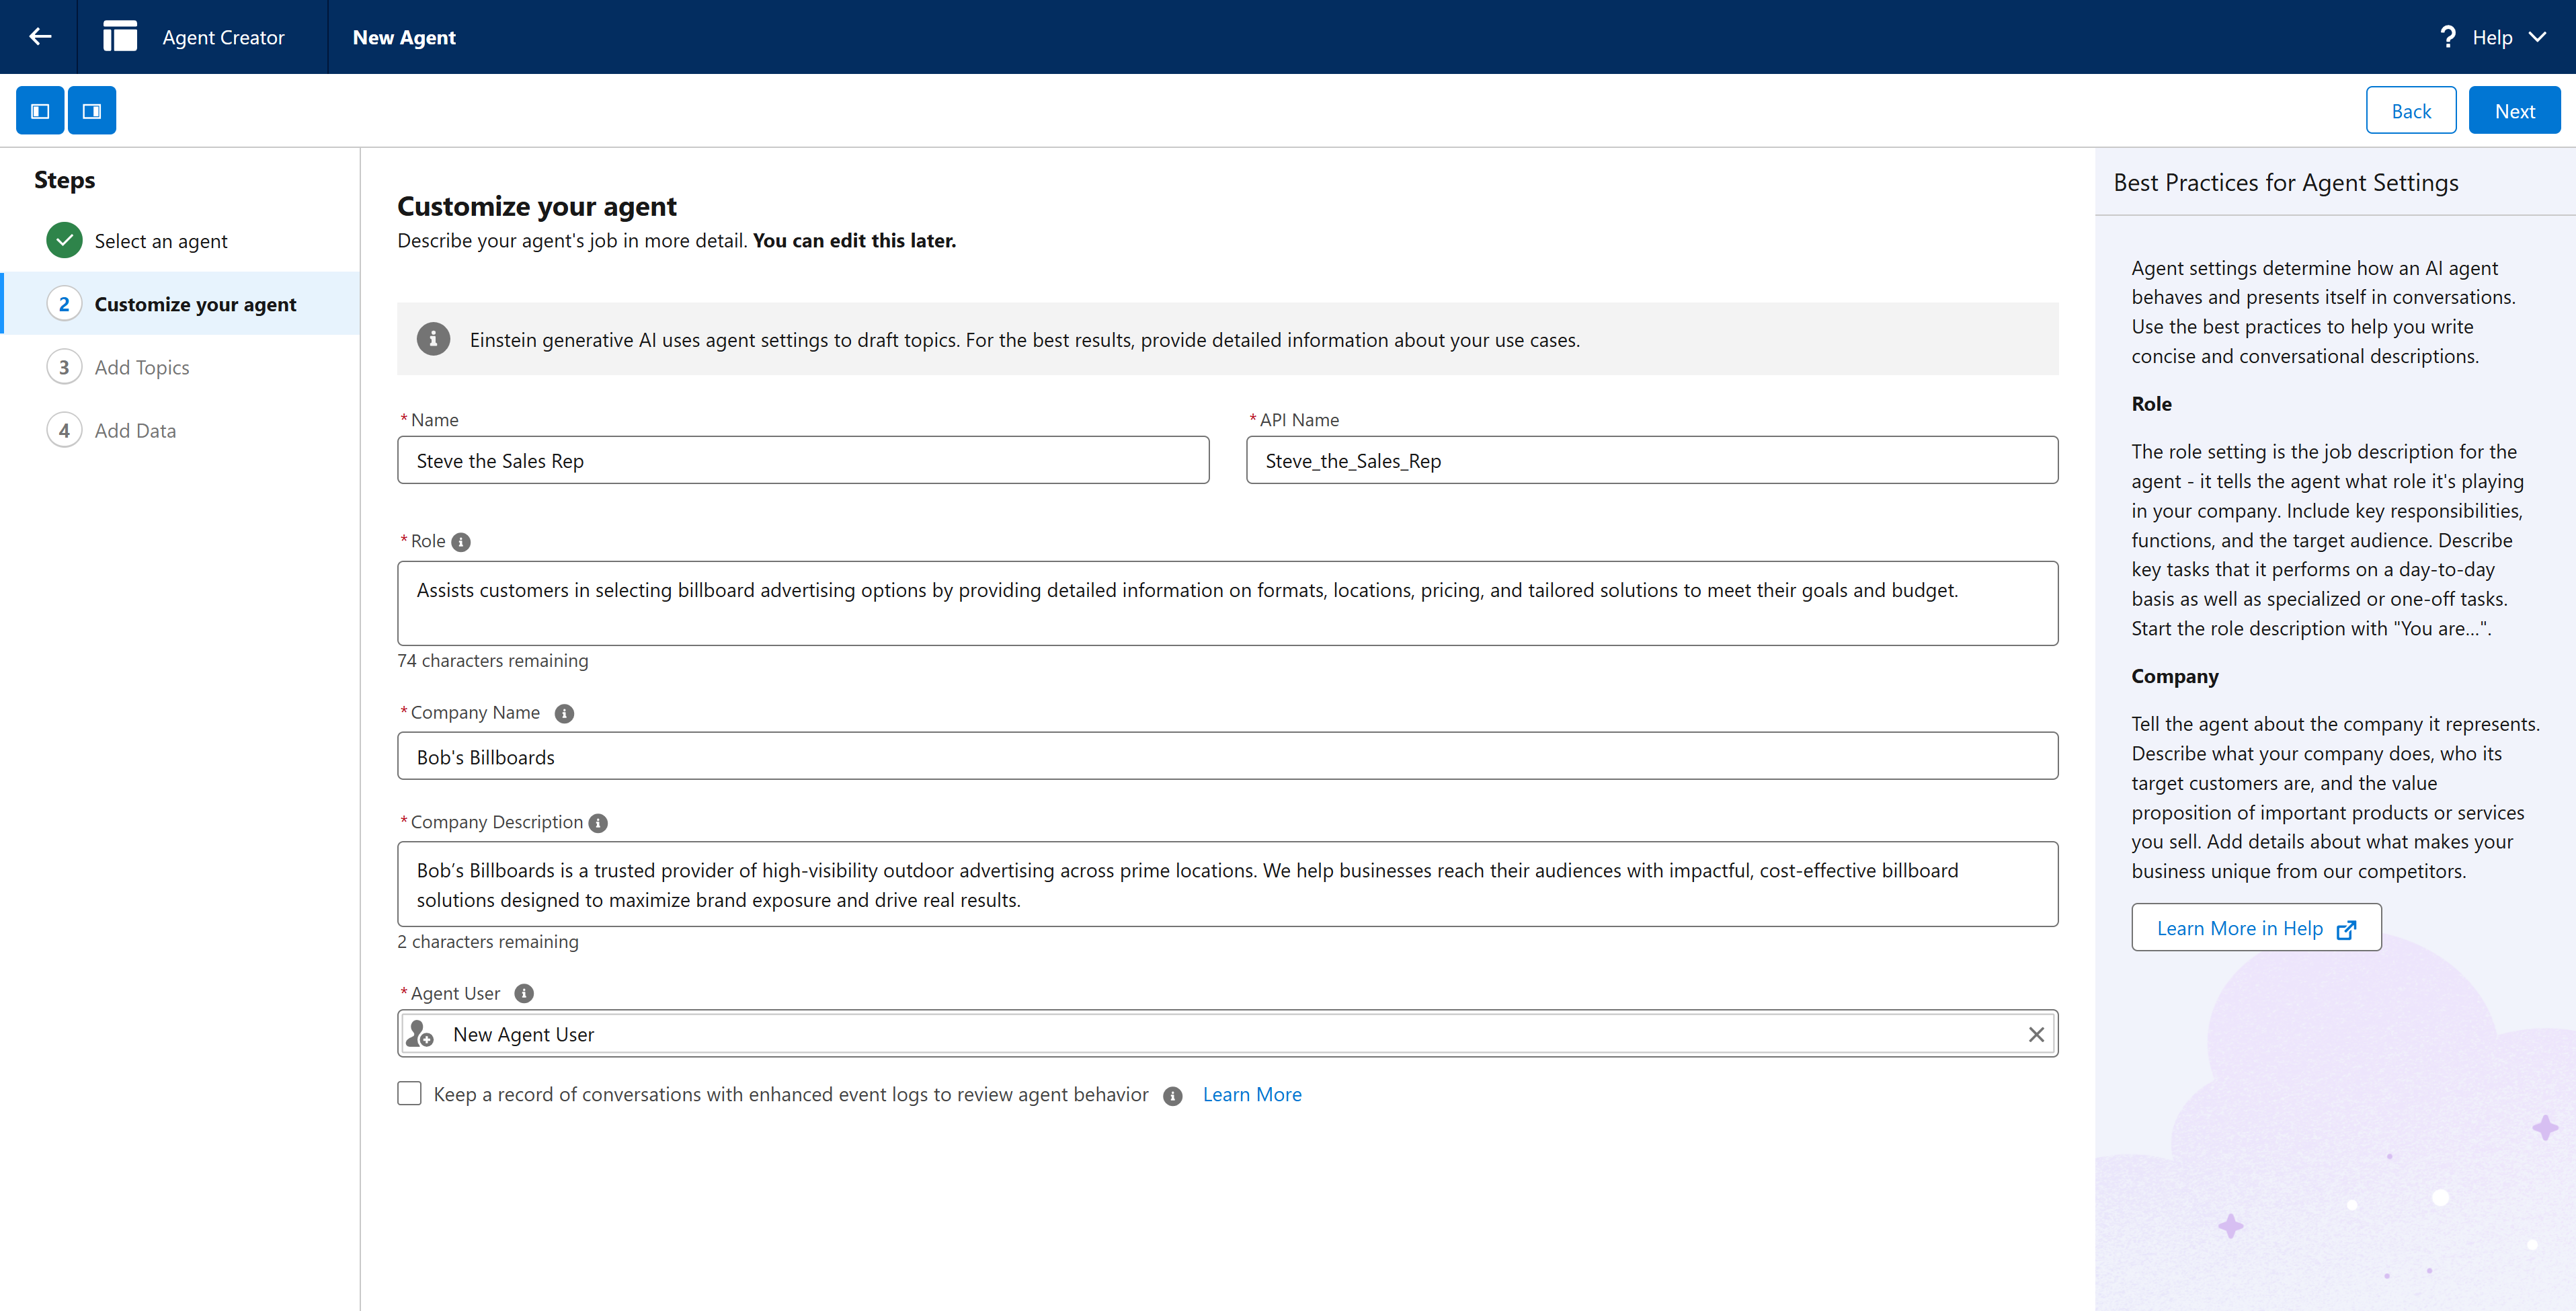
Select Next.
Step 3: configure topics
Topics help your agent understand how you want to answer questions about your products and services. Some defaults are automatically added (based on what you have entered in the What do you want your agent to do? field**)**, but you can delete these and add your own topics.
Review the topics list and decide if you want to delete any of the AI-Generated topics.
Remove the ones you do not want.
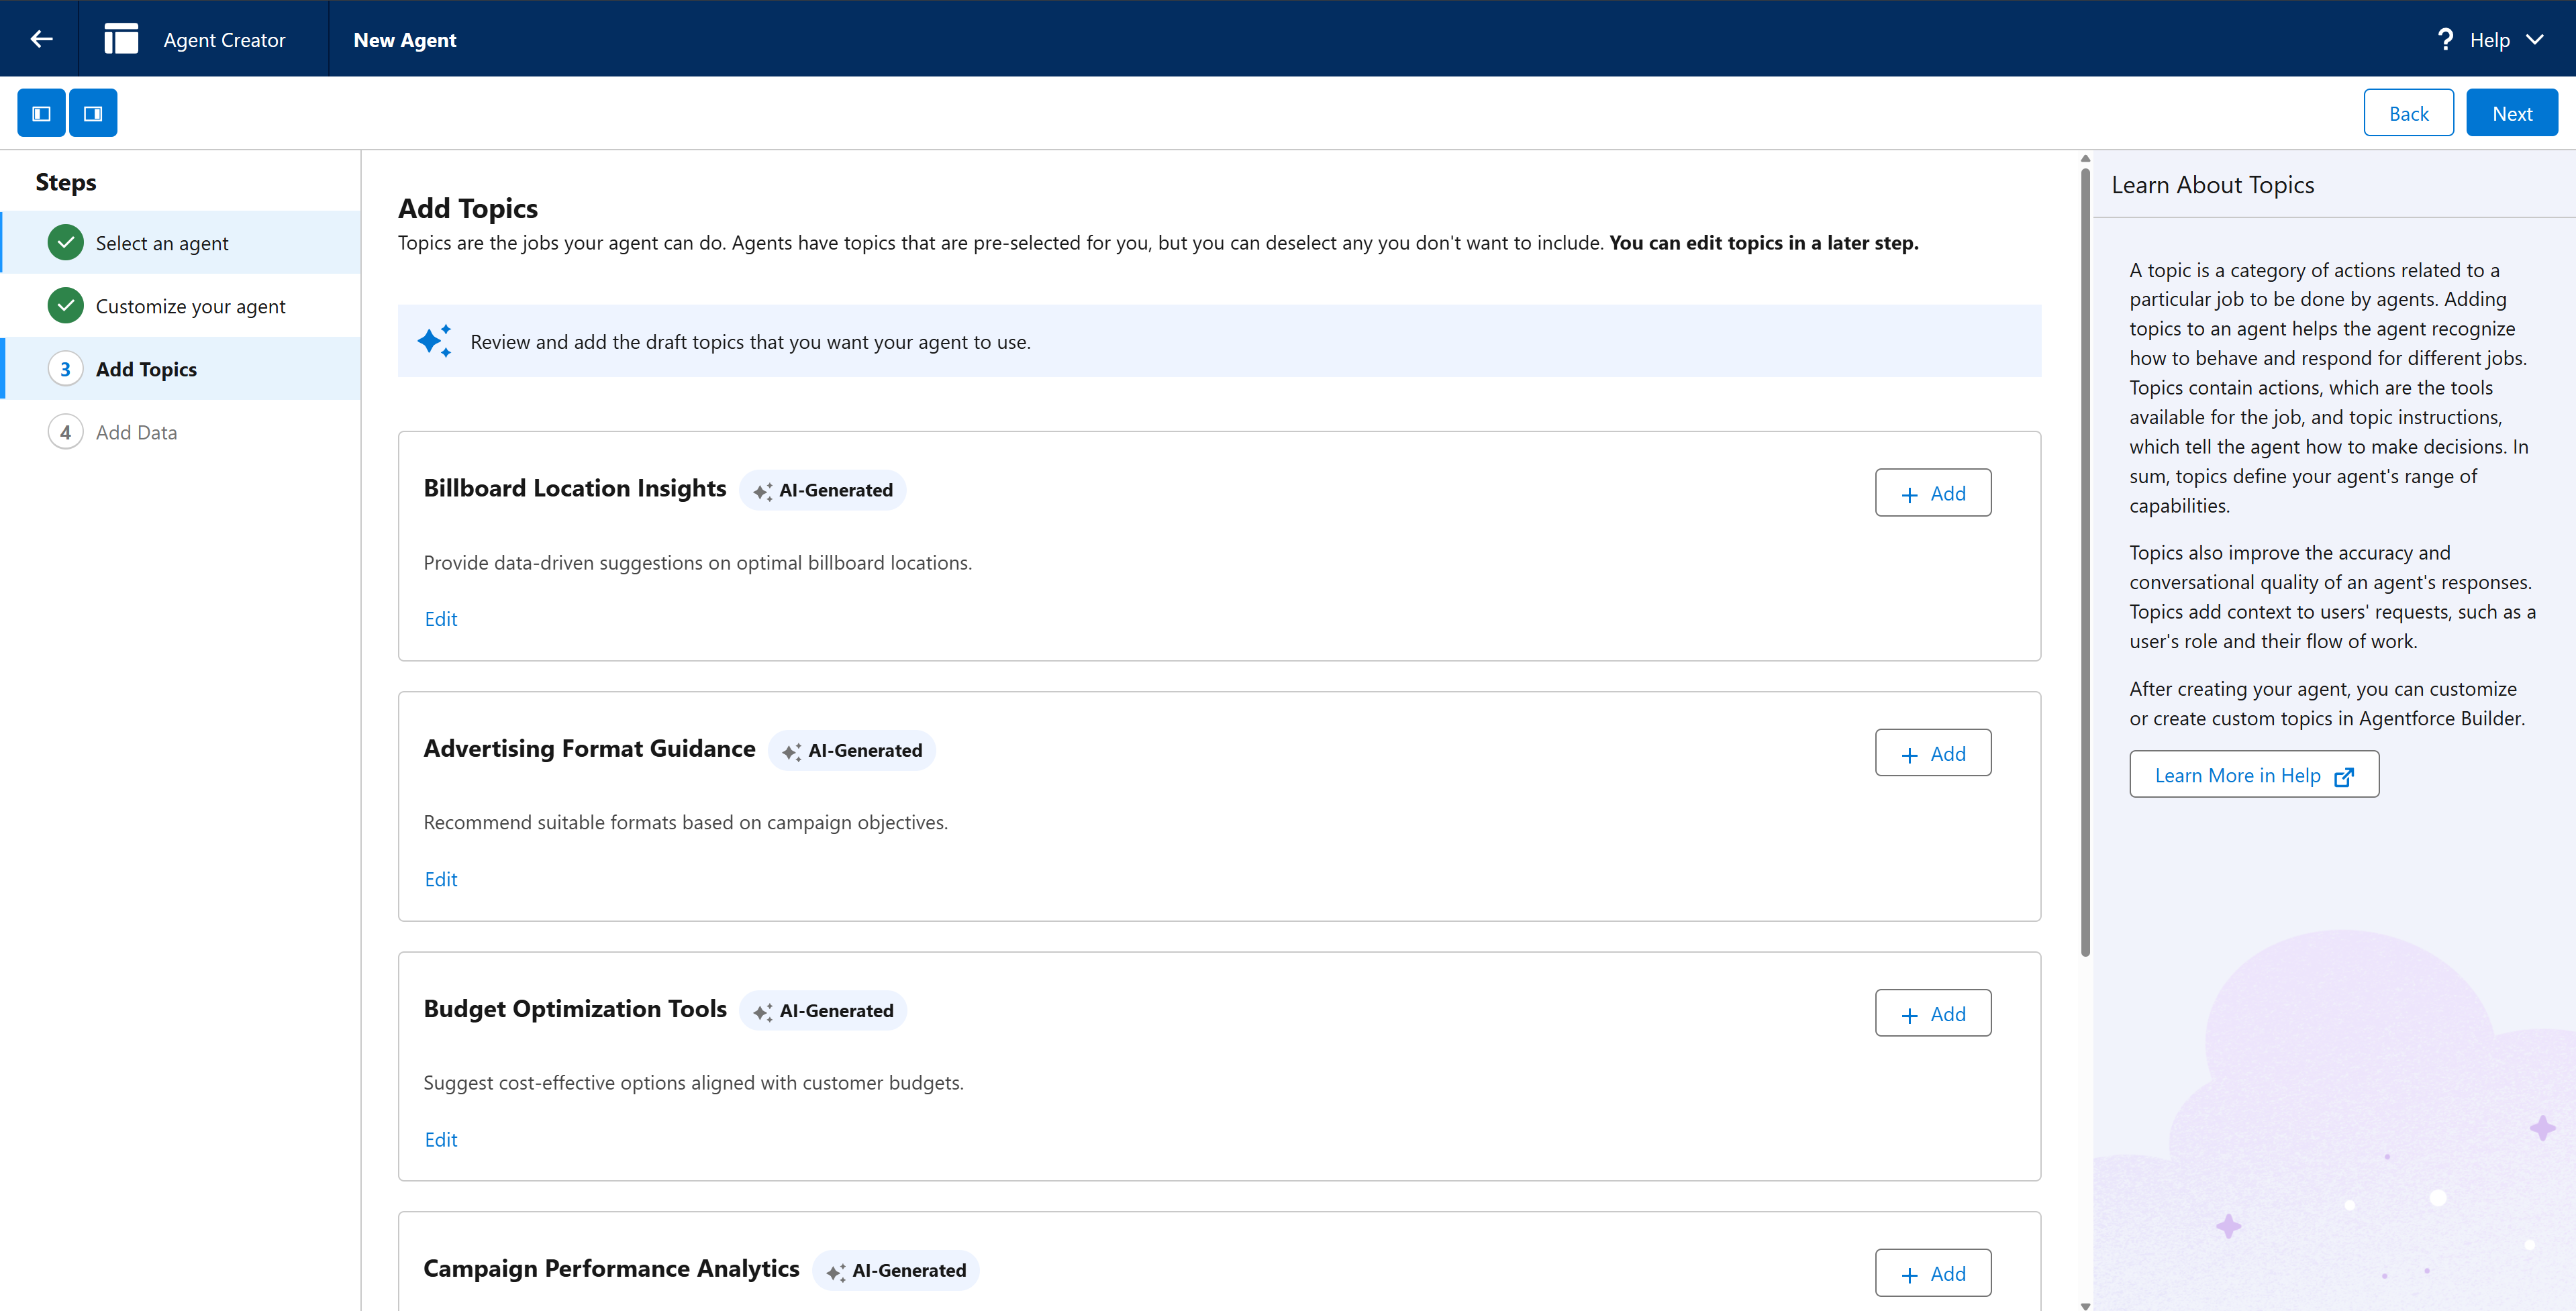
Click Next. You are prompted to add data sources.
If you have configured sources in Data Cloud, you can add them now.
Click Create to create your agent. You should now see it in the Agent Builder.
Follow the separate topic about agent topics to add more resources and details.
(Optional) configure a variable for an agent
If you want a specific store or contact ID to be identified during a conversation with a customer, you can set this as a variable in the agent.
In the Agent Builder, go to the Context tab and select New Variable.
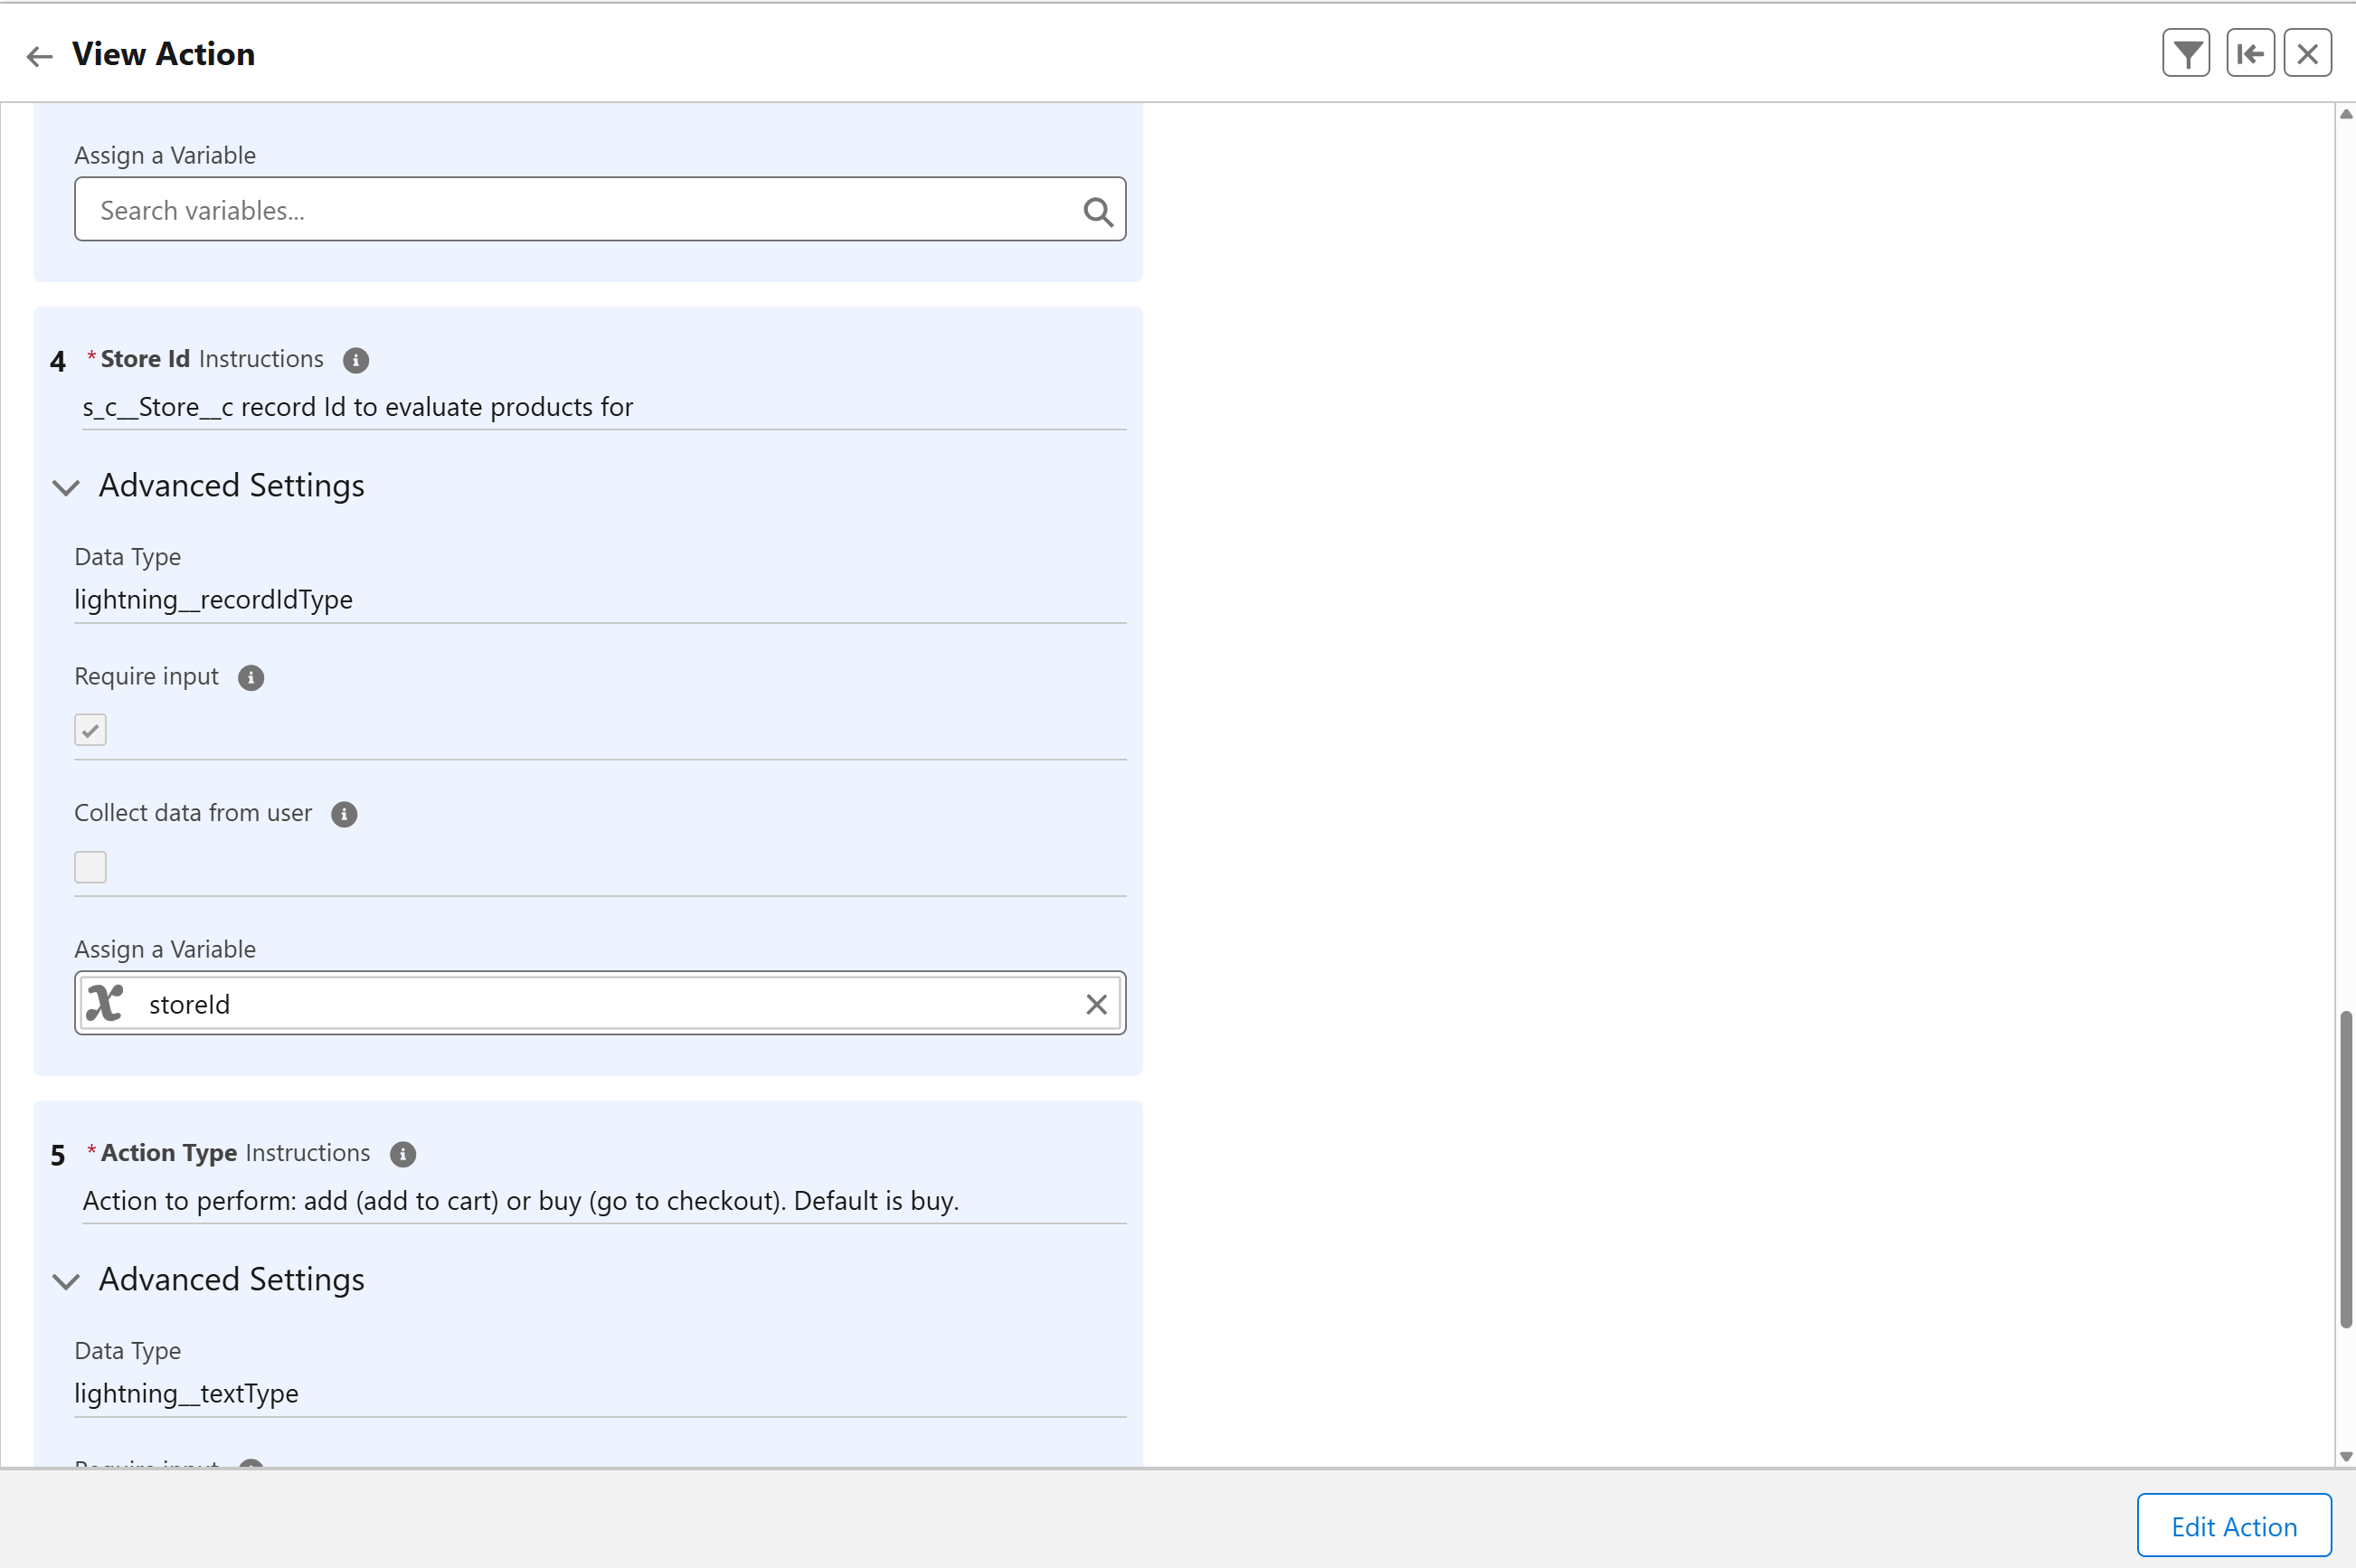
Enter the following information:
Name: storeId
Description: The StoreConnect Store RecordId the user is currently interacting with.
Data Type: Text
Allow value to be set by API: checked (true)
Allow LLM to use value: unchecked (false)
Select Save.