With StoreConnect you can run multiple stores from the one Salesforce org. How many stores you can run depends on the StoreConnect plan you are on.
To get your first store up and running, you will need to run the setup wizard from the StoreConnect Config app. That will get your site up and running as a store, ready for you to add heaps of awesome products.
The following guide will assist you in creating subsequent stores and is based on cloning an existing store and modifying it as needed. You can manually configure your store records in-place of cloning.
Create the store record
- Clone an existing Store Record
- Give the new store a name of its own
- Change Domain to use another domain you own or if using the same domain, set a path for the new store
- If using the same domain, make sure only one (normally the one without a path) is set as “Default”
- Set the store to “Test Mode” until it is ready to go live
- Create a new Taxonomy record and assign it to your new store
- If using a different domain, create a CNAME record for your domain in its DNS settings per this article
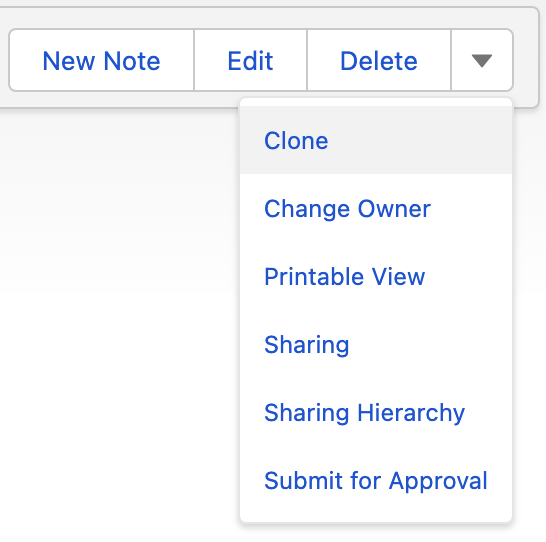
Add the Clone action to your page layout if it does not already appear.
Basic store configuration
- Set the default “Price Book” and currency for the store
- Set the “From Email Address” and make sure it’s a validated org-wide address
- Clone the homepage page record and assign the new page to your new store
- Make any needed changes to the page content, including adding any content blocks
- Clone your Terms and Conditions page like you did the homepage
- Set your store’s homepage and terms and conditions using your new pages
- Update the store and email logos if different for this store
- Update the SEO and Social Icon fields if different for this store
- Check over the other fields to make sure they are correct for your new store
Other store settings
Although you have cloned the store record, you will still need to add any related records like Payment Providers, Shipping Rates, etc. You may not need to create any Transactional Email records as the default ones are created for you but you may need to configure them if you are using settings different to the defaults.
- Ensure your Transactional Emails are correctly configured, using the correct triggers and templates
- Clone your payment provider records and assign clones to your new store
- Create any new zones needed for tax or shipping
- Clone any Shipping Rates and assign each clone to your new store and the correct zone
- Do the same for all other related records
Adding products
Product Categories play a part in whether a product is displayed on a store or not, so each store has its own set of product categories. You have already created a Taxonomy record and assigned it to your store. Now you need to add categories to your taxonomy and products to your categories. Where you have a lot of categories or products, you may want to consider doing this in bulk by exporting your existing store’s data and using that to create a CSV for inserting the new records.
- Clone each product category you need and assign each to your new store
- Add each product you wish to sell to the new product categories
- If your new store uses a different Price Book or currency, create Price Book Entries as needed
- If your new store is for a different tax zone, you will need to configure tax for that zone and assign the tax rate to each taxable product
Adding content
Pages, Articles and Article Categories are all unique to one store, meaning you can’t reuse them on another store. You can however reuse content blocks. Where your page content is to be the same for each store, consider using content blocks instead of adding content directly to the page’s Content field. This way, you can make changes to your content on one content block and it will automatically update on all stores where that content block is used.
- Clone any Pages and assign the clones to your new store
- Add any content blocks to your new pages
- Clone any Article Categories and assign to your new store
- Clone any articles, make any changes you want and assign to your new store
- Add your Articles to the relevant Article Categories
- Make sure any Content Blocks used for the stores head or body content are appropriate for that store
Script Blocks and Style Blocks are also store specific. If they are theme related and each store can use the same theme, consider moving them to a theme, otherwise clone these and assign to the new store. You will want separate Script Blocks in each store for any analytics or other scripts that create cookies, especially when using Compliance Groups. Assign any cookies to the correct Compliance Group for each correct store.
Menus
- Clone any Menus
- Clone any Menu Items
- Assign the new Menu Items to the new Menu
- Update the new Menu Items to use the correct pages, articles etc. for the new store
- Tell your new store to use the new menu
Email templates
The classic email templates used for Transactional emails should be as dynamic as possible so one template caters for all stores. Where this is not possible:
- Clone an existing template
- Make any required changes to your new template
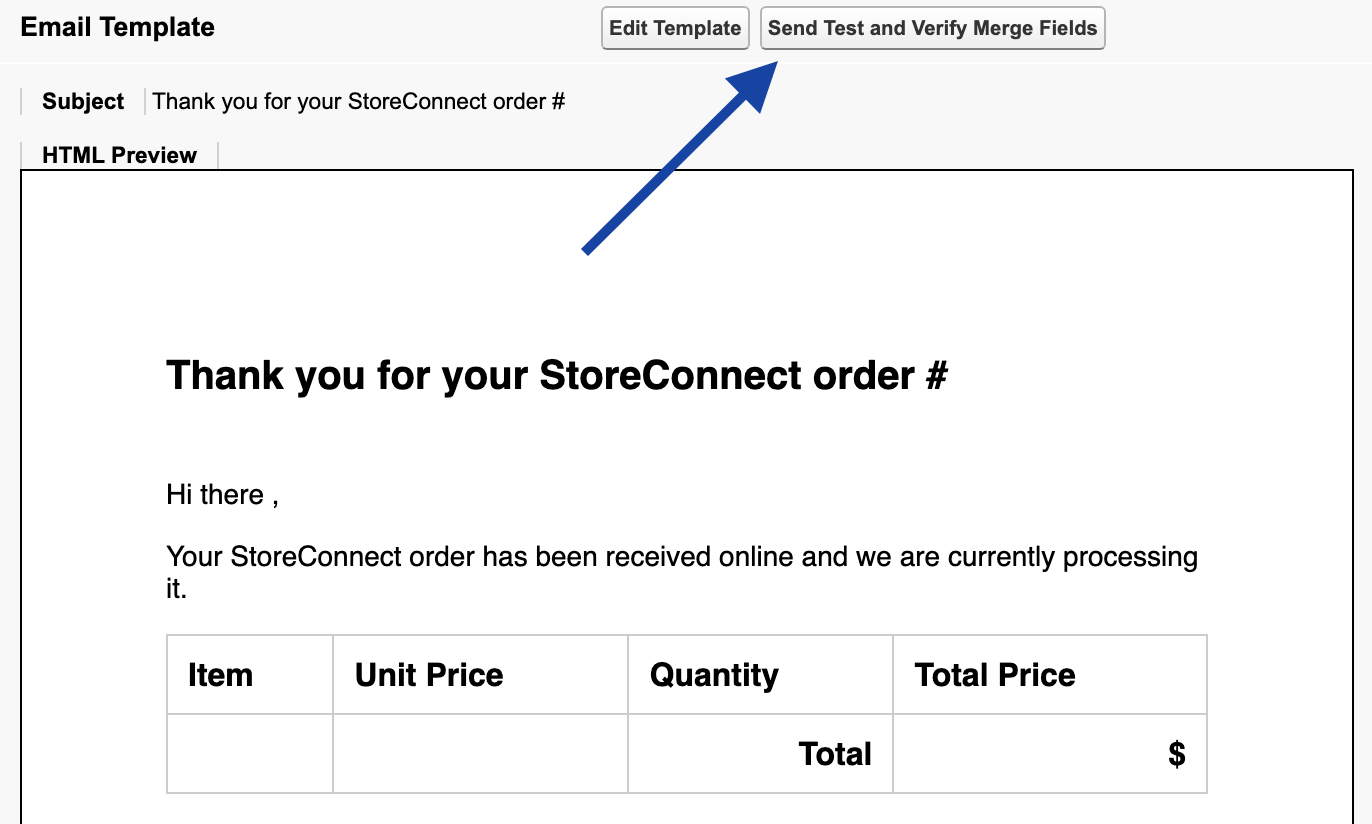
- Test using Salesforce’s built-in test using any order created by StoreConnect as test data and any contact (contact does not need to be the actual contact for the order)
Test your store
- Menus
- Make sure menu items don’t send you to the wrong store
- Pages
- Articles
- Product categories
- Product pages
- Checkout
- Email Templates that are enabled for each status