When dealing with B2B transactions, it’s a good idea to capture the name of the company during the checkout process.
When you set this up, an account will be created based on company name or first name/last name during the checkout process. The customer can later update the company name, which only updates the Account’s Display Name field.
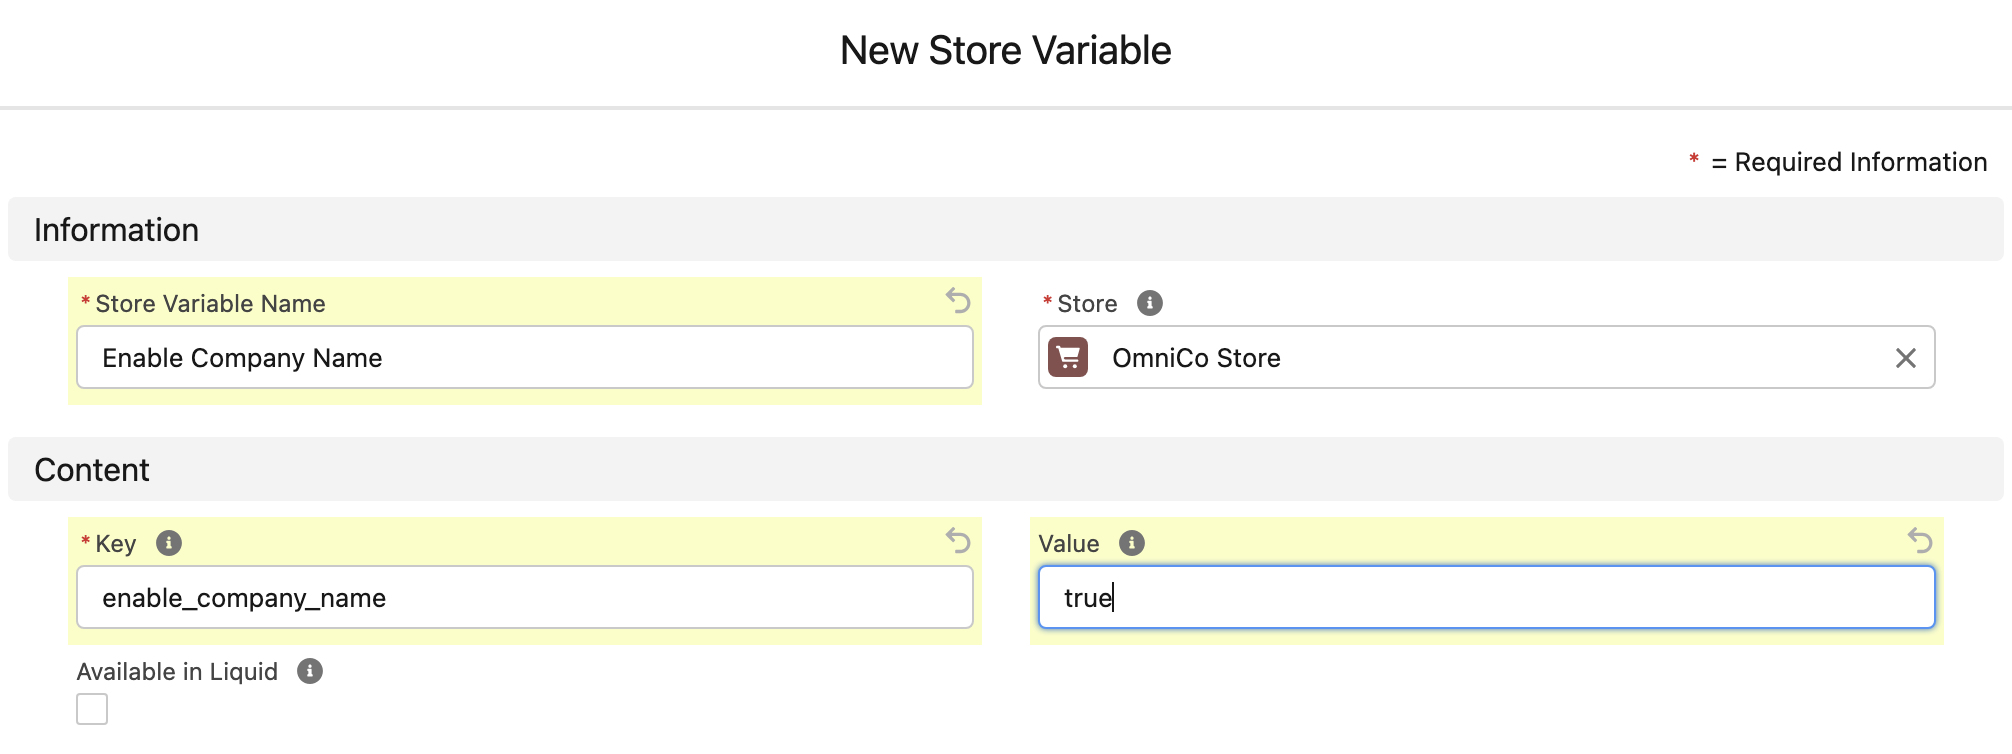
Create a store variable to capture company name
- From the StoreConnect Config app, open the Stores tab
- Find and open the store your want to to allow Company Name
- Find the Store Variables related list
- Create a new Store Variable record
- Give it a name, like
Enable Company Name - Set the Key to
enable_company_name - Set the Value to "
true" - Make Available in Liquid
- Click ‘Save’
How it appears at checkout
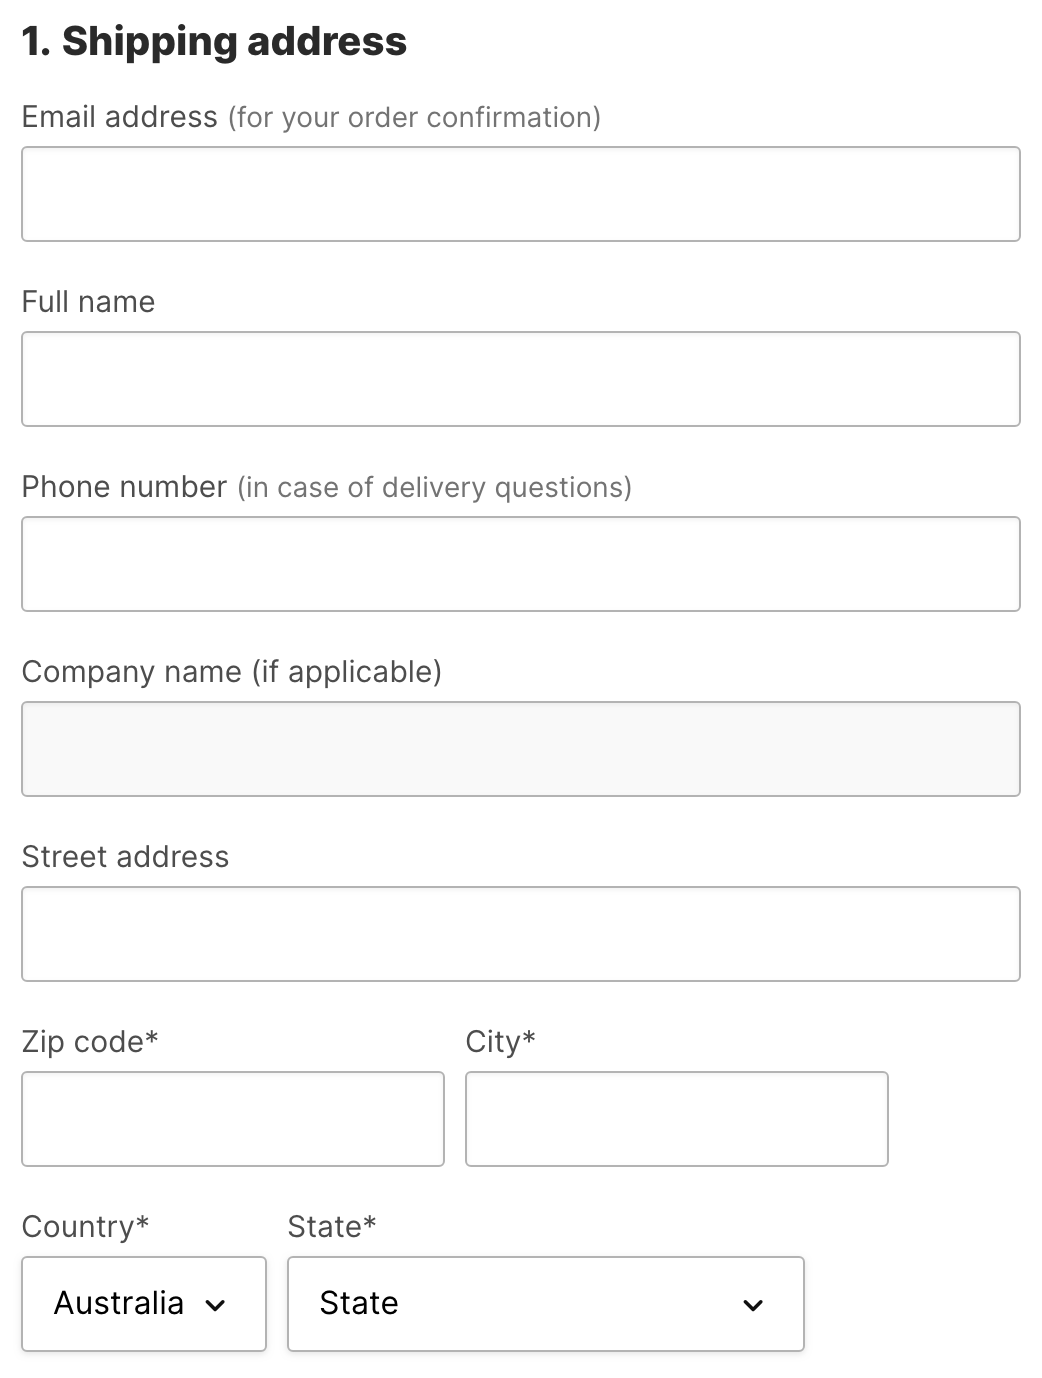
Make the company name required
The company field is automatically populated with the Full Name of the customer if left blank, but if you want to enforce they enter their business name, do the following:
- From your Store record, find the Head Content field
- Make sure you have the
Head Contentfield and not theHeader Contentfield - Is there a lookup to existing Head Content a. If there is a link, click the link to open it and skip to step 6 b. If there is no lookup, edit the field and select “New Content Block”
- Select the “No Added Styling” Template
- Give your content block a name like
Head Content - Add the below code to the Content field:
- Click ‘Save’
{%- if current_request.path == '/checkout/customer_information' %}

        document.addEventListener('DOMContentLoaded', ()=> {
        const nameField = document.querySelector('#checkout_customer_information_form_company_name');
        nameField.setAttribute('required', 'required');
        });

{%- endif %}
Update the field label
If you have made the field required or want to relabel the Company Name field, you can change the label with the following steps:
- From the Store record, find the Theme field
- Is there a lookup to a Theme? a. If there is a link, click the link to open it and skip to step 4 b. If there is no lookup, edit the field and select “New Theme”
- Give your theme a name like
My Theme - Open the Related List and find Theme Locales
- Open your Locale record or create a new one if none exist
- Go to the Locale’s Related List
- Create a Locale Translation
- In the Key field, enter
checkout.customer_information.form.company_name - Set Value as the label you wish to have, like
Business Name - Click ‘Save’