Transfer stock between locations
On this page
Stock transfers move inventory from one stock location to another. StoreConnect provides a simple tool for managing transfers.
Transfer stock
You can move stock from one origin to multiple destinations in a single session.
Step 1: Go to the stock management page
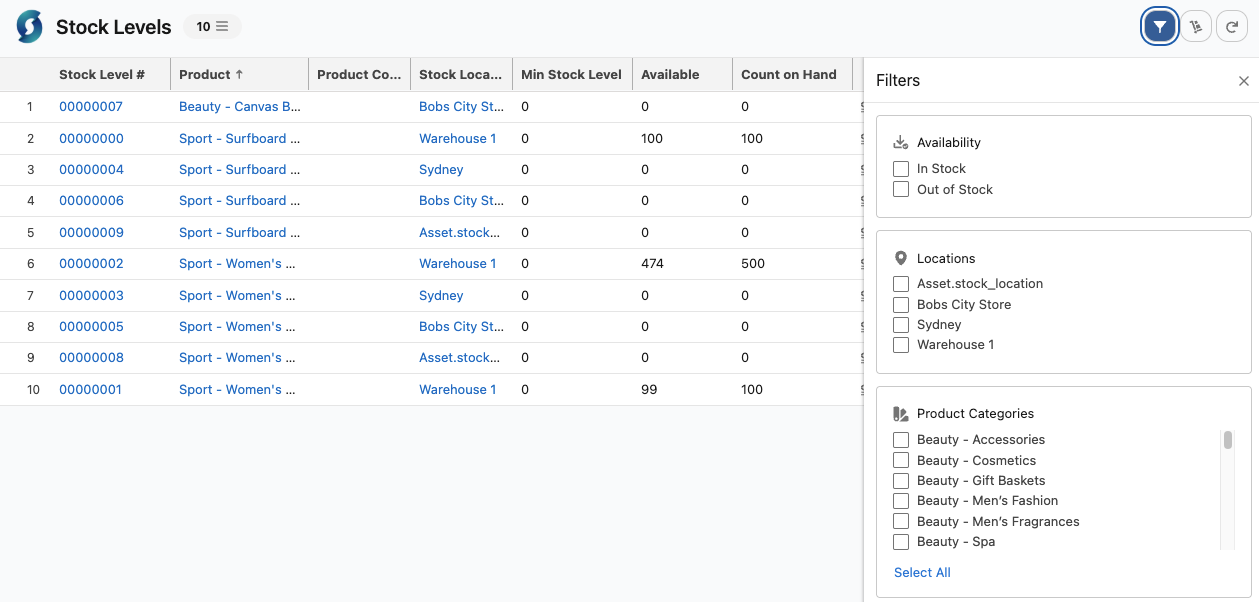
- In the App Launcher, search for Stock Management. This opens a list of all stock across your active locations.
- Click the Filter icon to narrow the list by availability, location, or product category.
- You can also search by product name or code.
Step 2: Select the locations
- Click the Transfer Stock icon (top right of the list).
- Select the Transfer From location — the origin where stock will be taken from.
- Select one or more Transfer To locations — the destinations to receive stock.
- Click Apply. The table updates to show only products with available stock at the origin.
Step 3: Allocate quantities and transfer
- Click the transfer icon on the product row. This opens the allocation panel.
- The panel shows the origin stock level and a field for each destination.
- Enter the quantity to send to each destination. Quantities are validated in real time. Each destination row shows:
- Min / Available — the destination’s minimum stock level and current available stock (including pending transfers not yet received).
- A colour indicator: green (destination has sufficient stock), orange (will fall below minimum), red (insufficient origin stock).
- If you want to transfer stock for another product, click the the Previous or Next buttons (at the bottom of the panel) to move between products. Then repeat step 3.
- When you have finished, select Transfer all. This will process all transfers for each product.
StoreConnect creates one Stock Transfer record per origin–destination pair, each containing the allocated Stock Transfer Items. A summary toast confirms how many transfers were created. If any items fail validation, the errors are flagged in the datatable so you can review and retry.

- Move between records
- Amount currently at destination
- Origin and product details
- Active list filters
- Transfer icon
Additional options during transfer
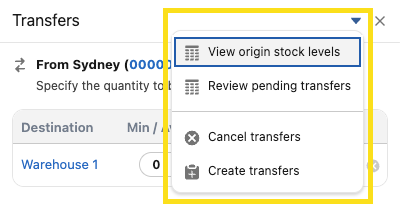
Access additional transfer options during the seesion:
- View Transfer Requests — see only products with pending allocations
- View Origin Stock Levels — see all products at the origin
- Change Locations — go back and change origin or destination selection
- Cancel Transfers — discard all pending allocations (with confirmation)
View transfer history
To see recent transfers for a specific product, click the history icon on its row. The panel shows transfers from the last 30 days (up to 20 records) with date, origin, destination, and quantity sent.
Transfer stock manually (Salesforce records)
You can also create transfers directly in Salesforce.
Create a transfer
- In the App launcher, search for Stock Transfers.
- Create a new Stock Transfer record. Set the Origin and Destination stock locations.
- Save.
- On the record you just saved, create a Stock Transfer Item records under the related list.
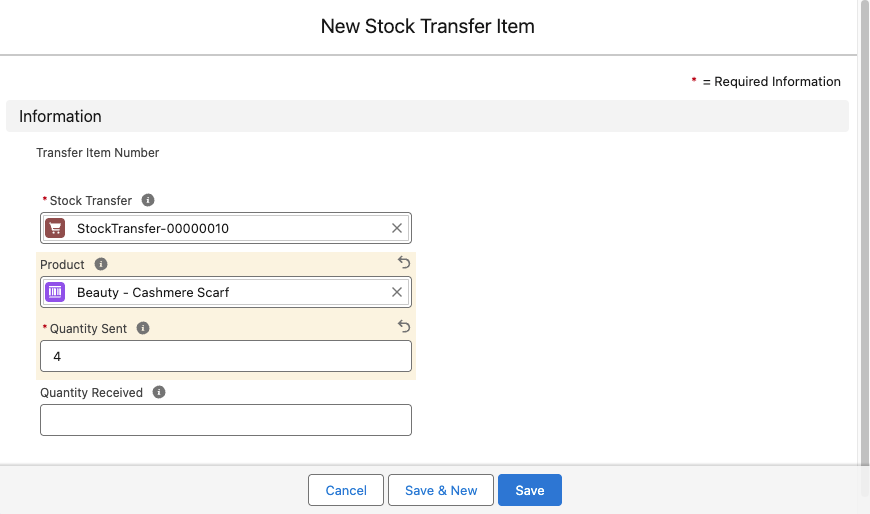
- For each item, set the Product and enter the quantity in Quantity Sent.
- Select Save and repeat from step 4 for each product you want to transfer. Each item you add, immediately reduces the origin’s Count on Hand and Available to Sell for that product.
Receive transferred products
- Find the Stock Transfer in the Stock Transfer list.
- On each Stock Transfer Item, enter the amount received in Quantity Received. This can be less than the quantity sent.
Each Quantity Received value adds stock at the destination location, updating both Count on Hand and Available to Sell.
Rules
Stock Transfer record: - Origin and destination cannot be the same - Origin and destination cannot be changed once saved
Stock Transfer Items: - Quantity Sent and Quantity Received can only be set once — they cannot be updated after saving - Quantity Sent cannot exceed Count on Hand at the origin - Neither quantity can be zero - Quantity Received cannot exceed Quantity Sent
Was this article helpful?
Thanks for your feedback! It helps us improve our docs.