

Add a custom footer
On this page
Set a global custom footer for your site in one of two ways. Use a content block if you manage the footer from Salesforce without touching theme files. Use a theme template if you already maintain a custom theme and want the footer versioned with it.
Create a footer using a content block
-
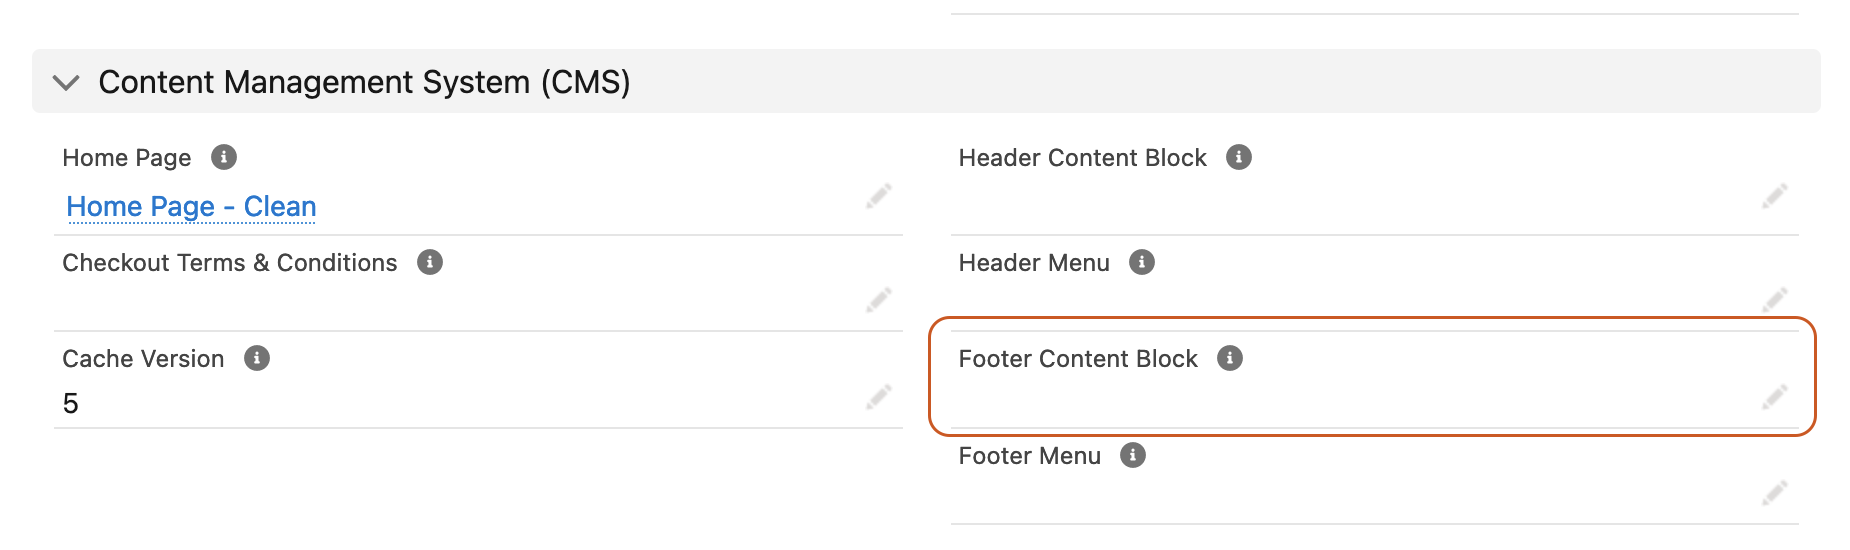
Open the Store record and go to the CMS tab.
-
Click Footer Content Block.
-
In the dropdown, click New Content Block.
-
Select No added styling in the Content Template field.
-
Enter a Name for the content block.
-
Put your HTML or Liquid into the Content field.
-
Click Save.
-
Save the Store record.
Open any page on your storefront. The new footer appears at the bottom of every page.
Create a footer in your theme
Use this method when you maintain a custom theme.
-
Open the theme you are working on.
-
Create a new Theme Template.
-
Set the key to
snippets/footerand paste your template into the Content field. -
Click Save.
Open any page on your storefront. The footer from your theme template renders at the bottom of the page.
Footer markup
Use this Liquid and HTML boilerplate as a starting point for either method, and modify it to suit your store.
```liquid
{%- cache “footer”, items: [current_store, current_customer, current_privacy] -%} {%- if current_store.footer != blank %} {{ current_store.footer.render }} {%- else %} <footer class="SC-Footer" id="SC-Footer"> {%- if current_store.footer_menu != blank %} {{ current_store.footer_menu.render }} {%- endif %} <div style="opacity: 0.2"> © {{ current_store.name | default: “StoreConnect” }} {{ current_store.timezone | now | date: “%Y” }} {%- if current_privacy.accepted? %} <div> {{ “privacy.manage_settings” | t }} </div> {%- endif %} </div> </footer> {%- endif %} {%- endcache %} ```
Was this article helpful?
Thanks for your feedback! It helps us improve our docs.