Set your store domain and go live
On this page
When your StoreConnect site is first set up, it uses a default domain that looks like 00d9n000002gtaryam-454af23e.storeconnect.app. This article covers the steps to go live on your own domain. The .storeconnect.app URL remains accessible afterward and is useful for testing new features or building additional stores.
Requirements
Before following these steps, you need a connected Web Domain record with a status of Success. See Connect a domain to StoreConnect for that setup, including DNS record configuration.
Step 1: Update the Store record domain
- In Salesforce, go to the Stores tab and open your Store record.
- Enter your domain in the Domain Name field. Use the exact domain you configured in your Web Domain record — no
https://and no trailing/. Examples:www.my-store.commy-store.comstore.my-store.com
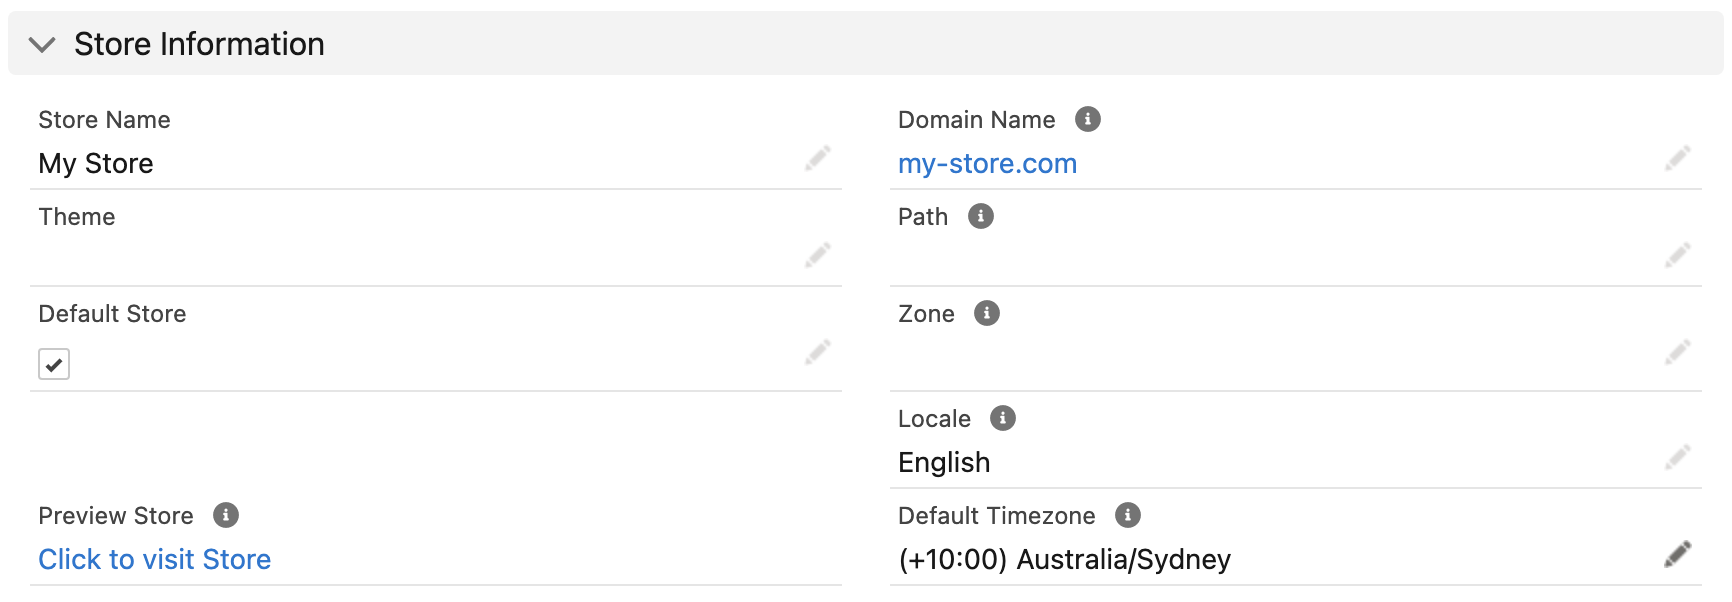
- Save the record.
This becomes your primary domain. It is used for your Google Merchant Feed, Facebook Catalog Feed, sitemap, robots.txt file, and all canonical and social metadata links in your store header.
:::tip
If you have connected both an apex domain (my-store.com) and a subdomain (www.my-store.com), set the one you want customers to use as the primary domain here. Traffic to the other domain automatically redirects to the primary via a 301 redirect. Contact support if you need to disable this redirect.
:::
Step 2: Disable test mode
- On the Store record, go to the Modes sub-tab.
- Uncheck Enable Test Mode.
- Save the record.
Test mode must be off before your store processes live transactions.
Troubleshooting
SSL_UNRECOGNIZED_NAME_ALERT
If your DNS records did not propagate quickly enough after the Web Domain record was activated, SSL certificate provisioning may have timed out. Contact support to restart the process.
Was this article helpful?
Thanks for your feedback! It helps us improve our docs.