Website builder
On this page
StoreConnect’s Website Builder allows you to make design and content changes to your website while seeing exactly how the changes look on your site. Changes do not affect your live site until they are approved and published.
The Website Builder uses a WYSIWYG (What You See Is What You Get) interface, so no code experience is needed, making it accessible to anyone who has worked with visual website editors before.
Set up Store Roles first
Only users who have been assigned a Store Role for content changes can open and use the Website Builder. To grant access, create a Store Role with the appropriate settings and assign it to the user.
| Store Role Object Field | Value |
|---|---|
| Store Role Name | Something that makes sense to you and your team, e.g. Website editor |
| Type | Content changes |
| Level of access | Editor (can make changes) or Approver (can publish changes) |
Once a user has been assigned the role, a Website Builder button appears in the top-right corner of the Store record page in Salesforce.
Explore the Website Builder
To open the Website Builder, open your store record and click the Website Builder button in the top right.

When you open the website builder you’ll see the store’s home page with a simple user interface surrounding it.
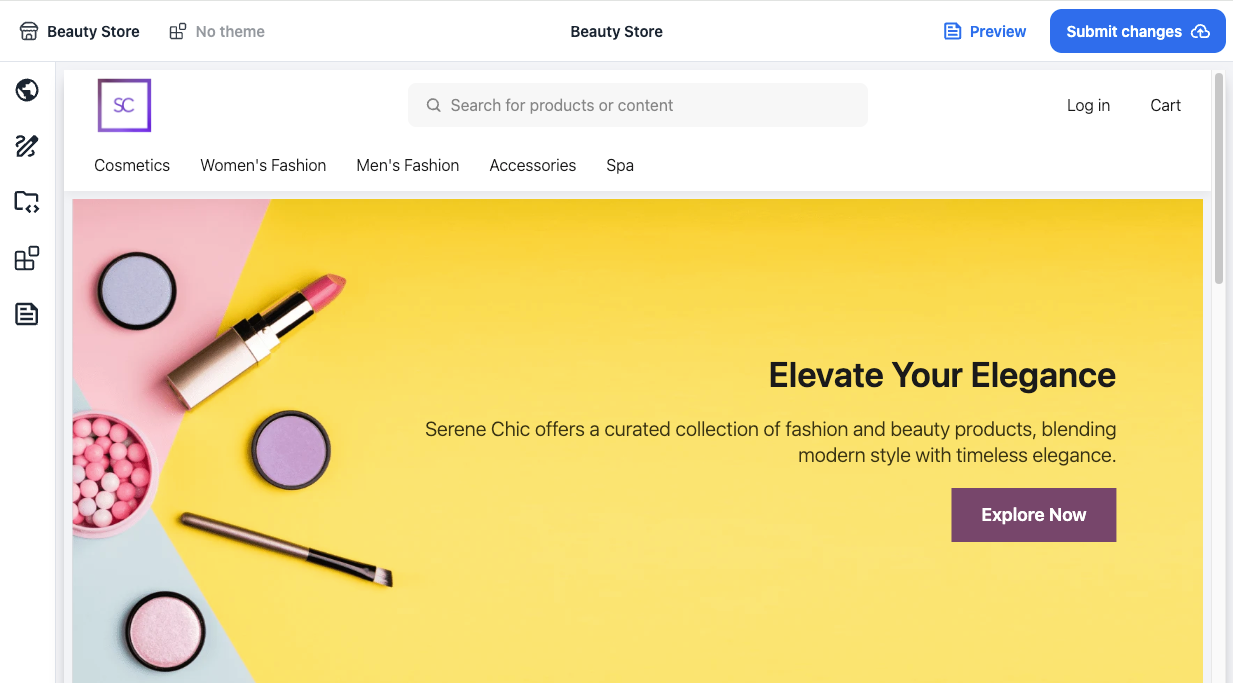
In the top panel you have options to switch between stores and themes, toggle between editing and preview mode, submit changes for approval, and exit the site builder.
Global settings
On the left side panel, the icons give you access to global website settings.
- Settings — view and edit global site settings
- Styles — add and edit custom CSS
- Scripts — add and edit JavaScript
- Themes — manage your custom themes and theme templates
- Content - manage content blocks and content
The Settings panel is divided into these sections:
| Section | Fields |
|---|---|
| SEO | Meta title, meta keywords, meta description — used as defaults for pages that don’t set their own |
| Theme | Select the active theme for the store |
| Content blocks | Assign content blocks for the Head, Body, Header, and Footer areas |
| Menus | Assign the header and footer navigation menus |
| Pages | Set the home page and Terms and Conditions page |
| Images | Set the logo, category placeholder, and product placeholder images |
Navigate to different pages of your website by clicking on the menu links as you normally would in a browser. When you make a change in the section, select Save changes at the bottom of the panel. Discard changes by clicking Abandon changes.
Section editing
Hover over or select areas of a page to highlight the sections that can be edited, then modify the section in the panel that appears. You can edit Menus, Articles, and pages. If you have unsaved changes in the panel, switching to a different sidebar section will prompt you to confirm before your changes are discarded.
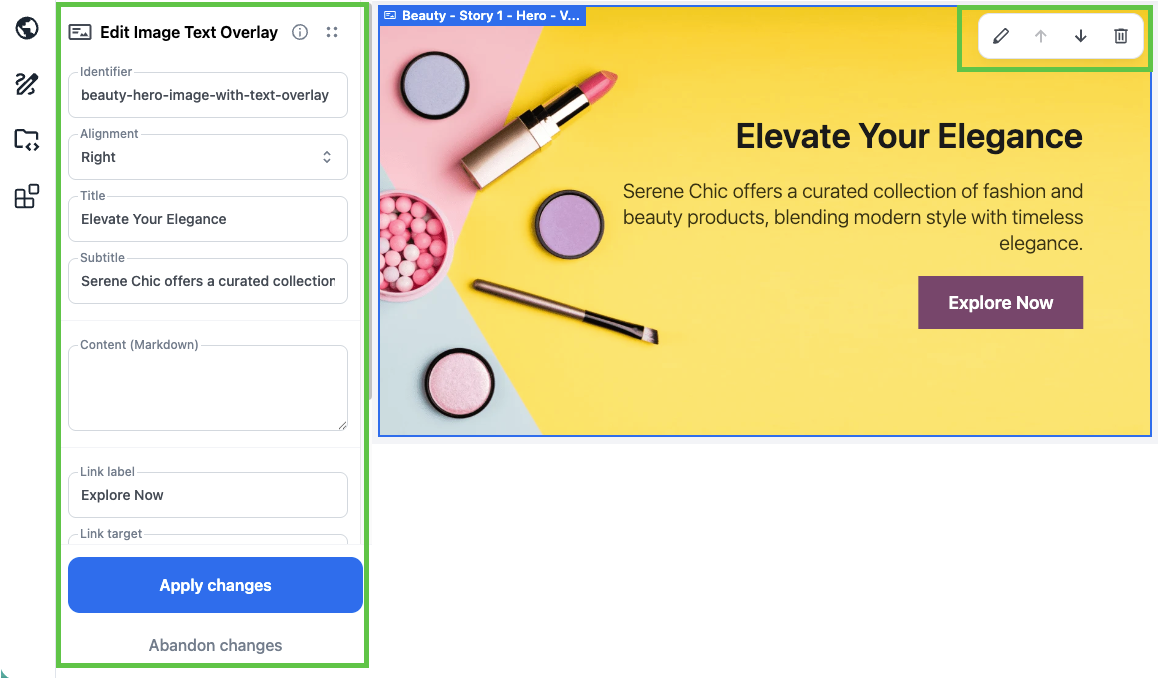
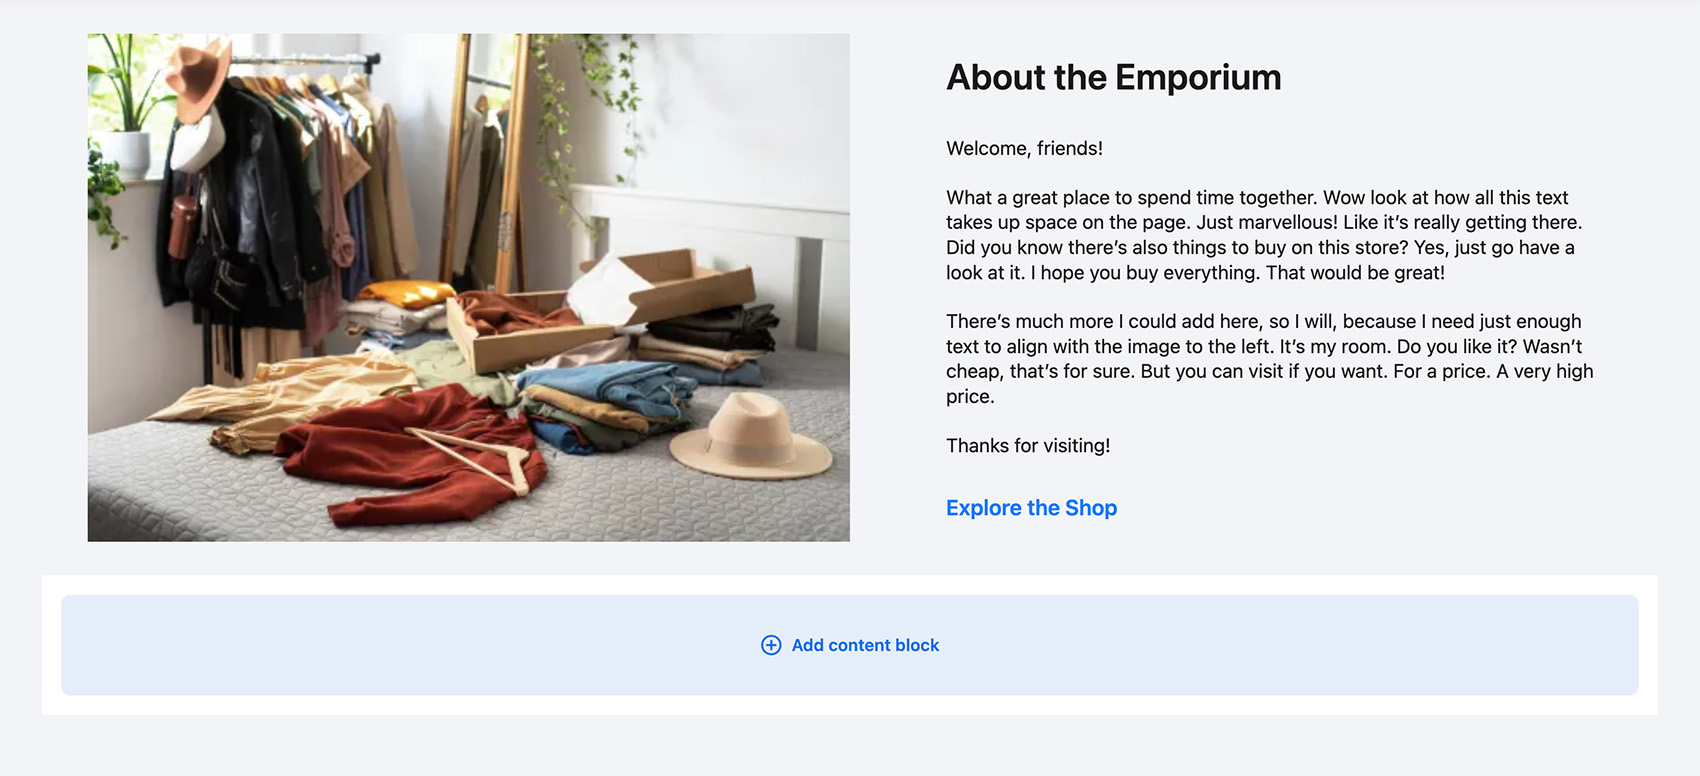
Select Add Content Block at the bottom of any page to choose a content block template and add a new block. You can also add a content block to the top of a page by hovering over the outer page element and clicking the plus button on the page action bar.
Contents sidebar
Click the Contents icon in the sidebar to view a structured list of all content blocks on the current page. Use it to navigate and reorganize page content.
Clicking an item scrolls the page view to that content block and selects it for editing. Click Re-order to rearrange content blocks by dragging them up and down in the list.
Delete content by clicking the trashcan icon on the content block. Note that deleting a content block within the Website Builder does not delete the actual Content Block record, it only removes its relationship to the page so that it will not appear on that page of the website.
Switch stores and themes
The Website Builder header includes a store select menu and a theme select menu, allowing you to switch context without leaving the builder.
- Store select menu — switch between stores you have access to. The builder reloads with the selected store’s content and configuration. When switching stores, your theme selection and preview mode both reset to their defaults for the new store.
- Theme select menu — switch the active theme for the current store. Theme selection is session-only — it affects only your builder view and does not change the live/production site’s active theme.
Both menus load their options remotely, so they always reflect the current list of stores and themes available to your user.
Exit confirmation
When leaving the Website Builder using the Exit button, a confirmation dialog appears: “Are you sure you want to leave? Any unsubmitted changes will be lost.” Submit your changes before exiting to avoid losing work.
Preview mode
Preview mode lets you see how your page looks without the builder’s editing interface in the way.
To enter preview mode, click Preview changes in the top panel. To return to editing, click Edit content. When in preview mode:
- Inline editing is disabled — clicking page elements will not open editing tools
- The page renders as a visitor would see it
- Device preview (mobile, tablet, desktop) is available to check how the page looks at different screen sizes
Submit website changes
After you have finished editing, select Submit Changes. This saves your changes in Salesforce, making them ready for review and publishing.
Review and publish website updates
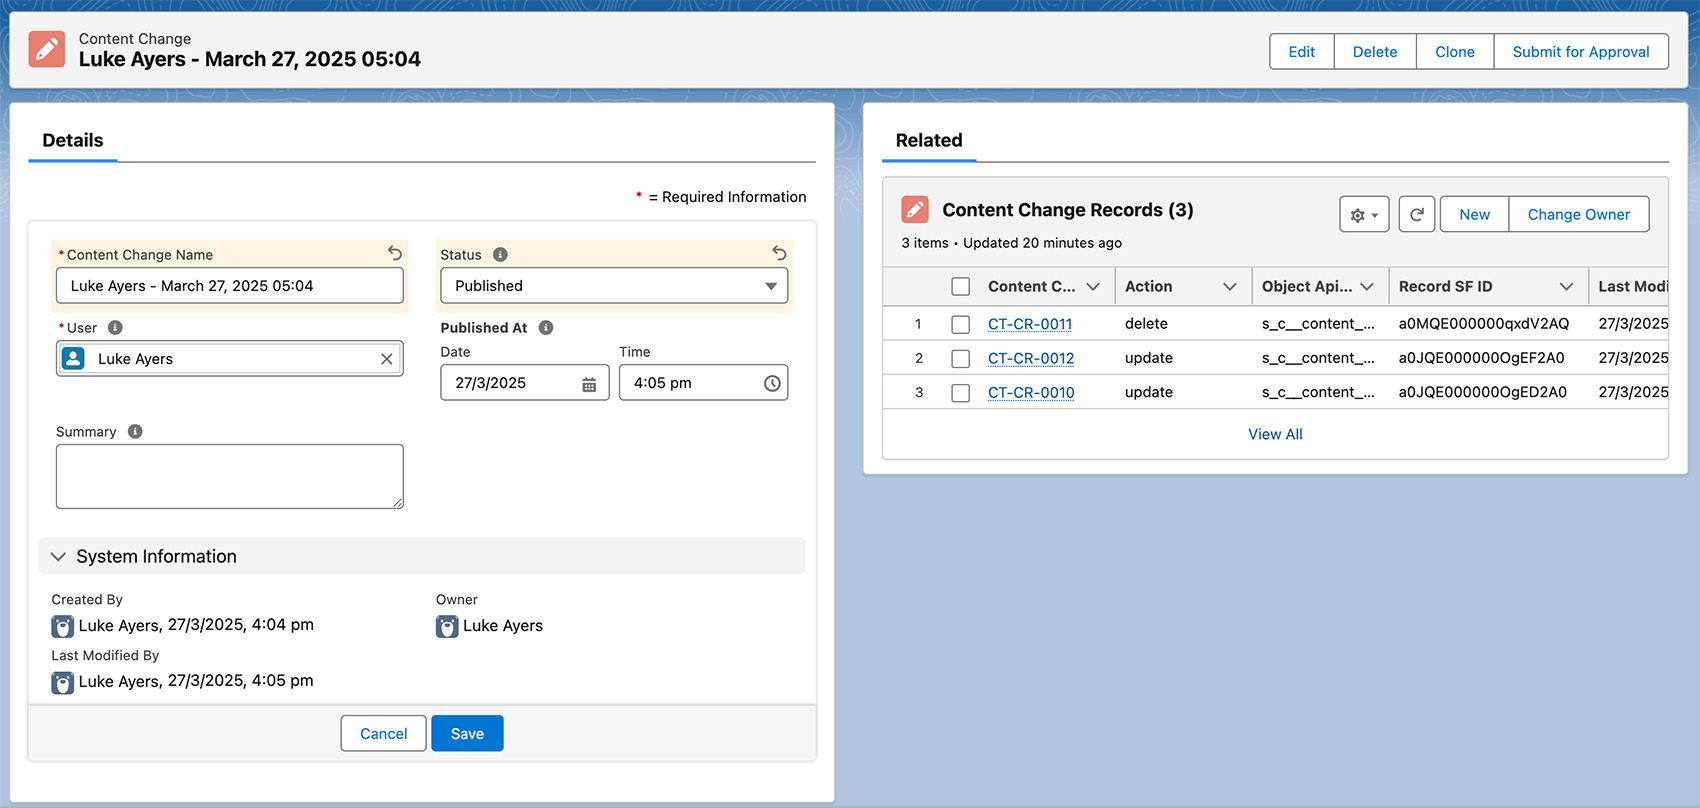
Content changes appear in StoreConnect as a package of Content Change records. Each individual record contains the details of the change, e.g. a create, delete, or update action.
An authorized user can then review every change made, make edits, or delete individual change records. When ready, they set the status to Published to push the changes to the live website. Publishing can optionally be scheduled for a future date and time.
To continue editing before publishing, select Resume on the Content Change record to reopen the Website Builder with your saved changes.
Was this article helpful?
Thanks for your feedback! It helps us improve our docs.