

Sign in to a POS register
On this page
Use this process to take over a register that another employee is signed in to, so that sales are recorded against the right person.
Before you start
- The shift has been started on the register. See Start a shift at POS.
- You have a POS user with a PIN. See Create and set a PIN.
Sign in to a POS register
- At the POS register, select the keyboard icon on the left of the screen to lock the register.
- If your name does not appear on the screen, select Add user in the top menu.
- Select your user name from the list, then select it again.
- Enter your PIN when prompted.
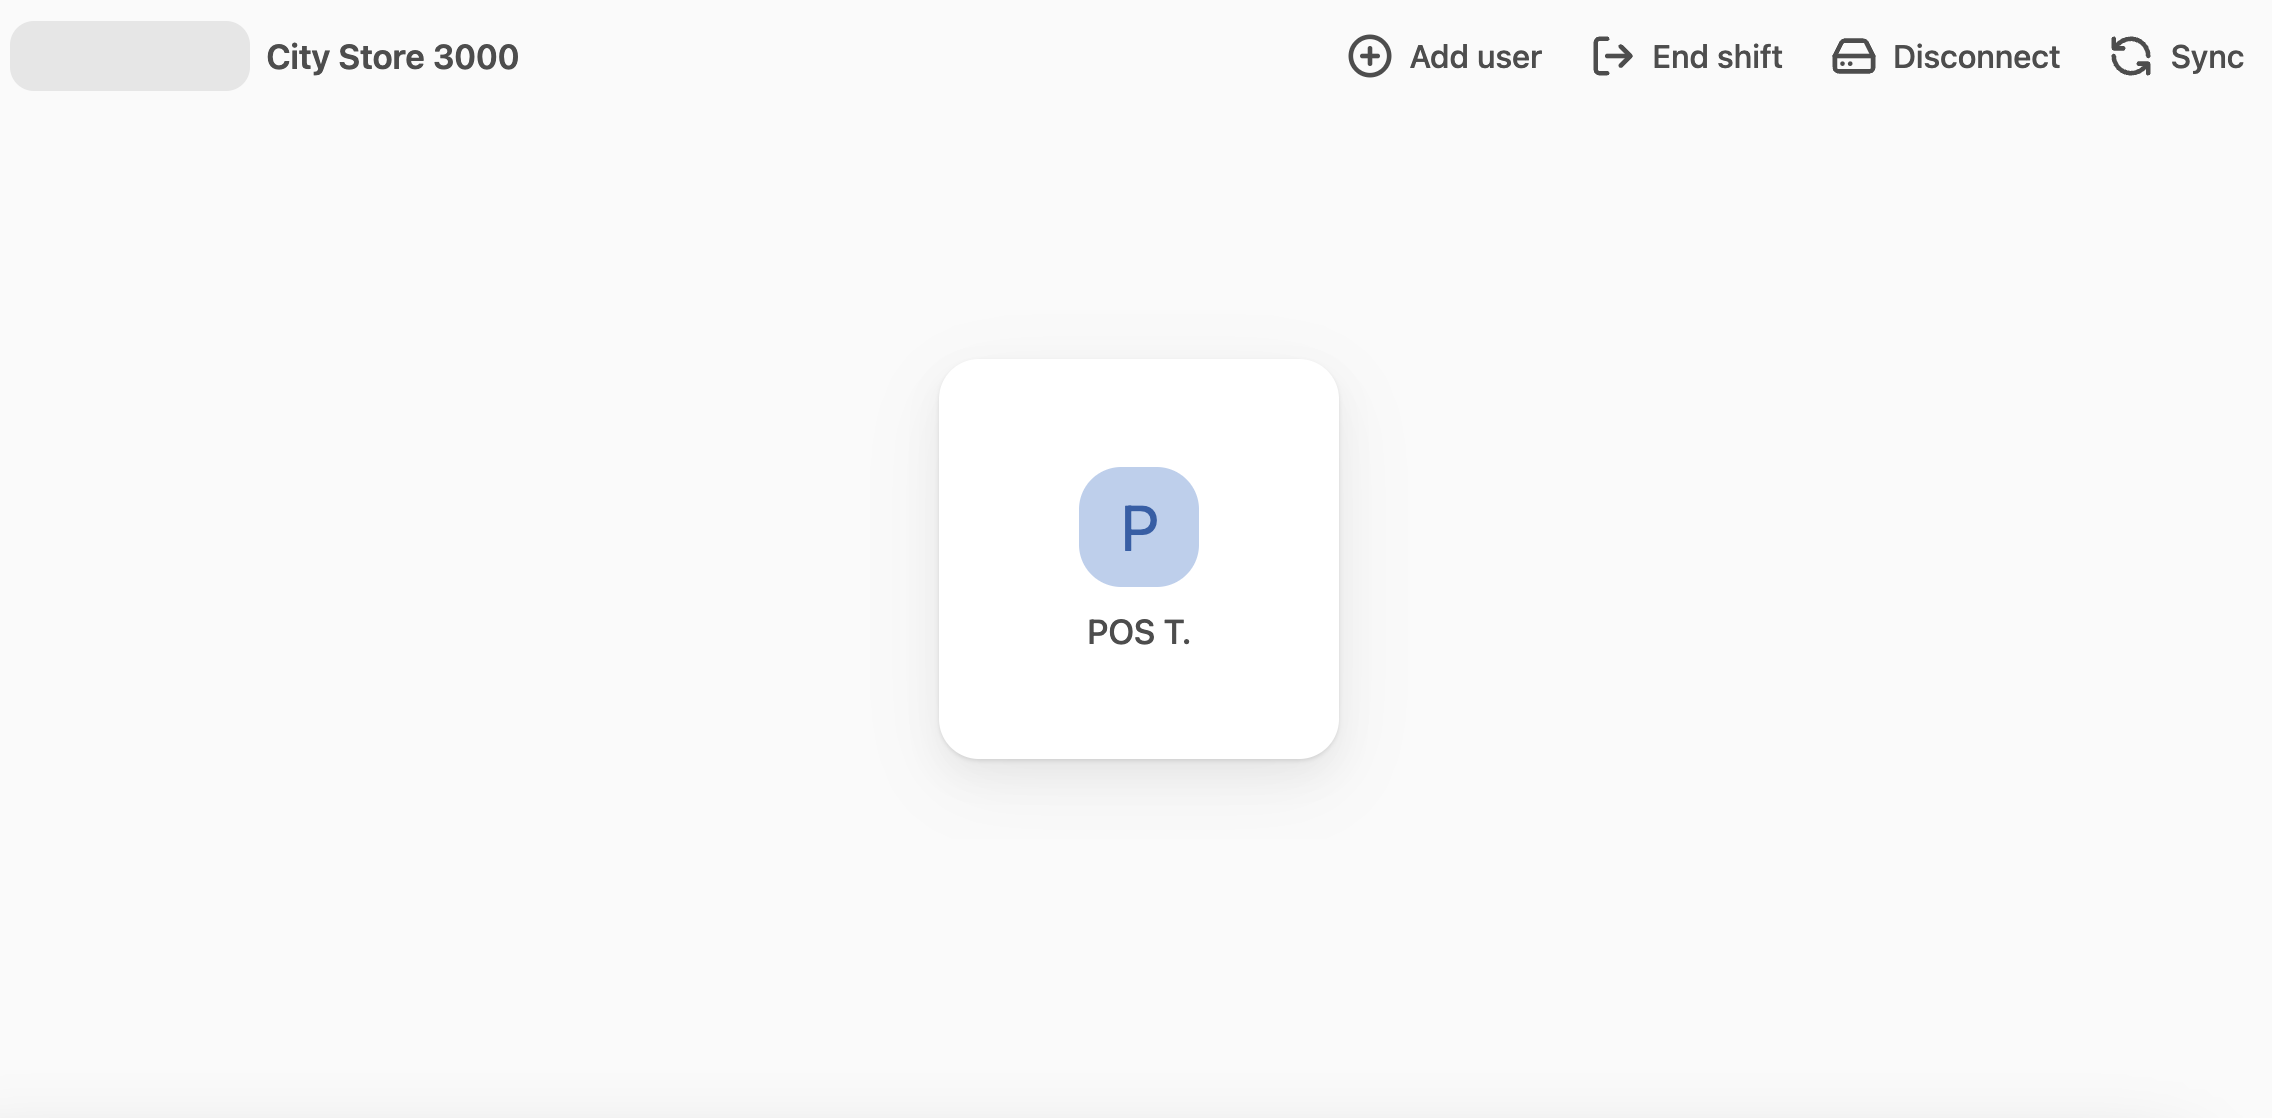
You are now signed in, and your name appears as the active user in the top menu.
Who is recorded against each sale
Because each employee signs in with their own PIN, the user who is signed in when a sale is completed is recorded against that order. The signed-in user is saved on the order in Salesforce as Order Assisted by User, and their name can be printed on the customer receipt as the cashier.
To keep every sale attributed to the person who actually processed it, lock the register between users rather than letting the next person continue under someone else’s session. You can lock it manually, or configure the register to lock automatically after a period of inactivity or when the device screen locks. See Configure register auto-lock.
:::note There is no setting that signs a user out automatically after each individual transaction. To approximate this, set a short inactivity timeout or have staff lock the register after completing each sale. :::
Sign out of a POS register
- At the POS register, select the keyboard icon on the left of the screen to lock the register.
- Confirm that the PIN entry screen is displayed. You need to re-enter your PIN to sign back in.
Unlock the register
When the register is locked, whether manually, through inactivity, or because the device screen locked, the PIN entry screen is displayed.
Select your name from the list and enter your PIN to unlock and continue where you left off. Any in-progress cart is preserved.
For information on configuring automatic locking, see Configure register auto-lock.
Was this article helpful?
Thanks for your feedback! It helps us improve our docs.