

Product categories
On this page
A product category allows you to group a range of products within it so they are easier for your customers to find. The default header menu is also built using your product categories and the hierarchy you set them up with. If you create your own menu, you will need to add categories to it for them to appear in the header.
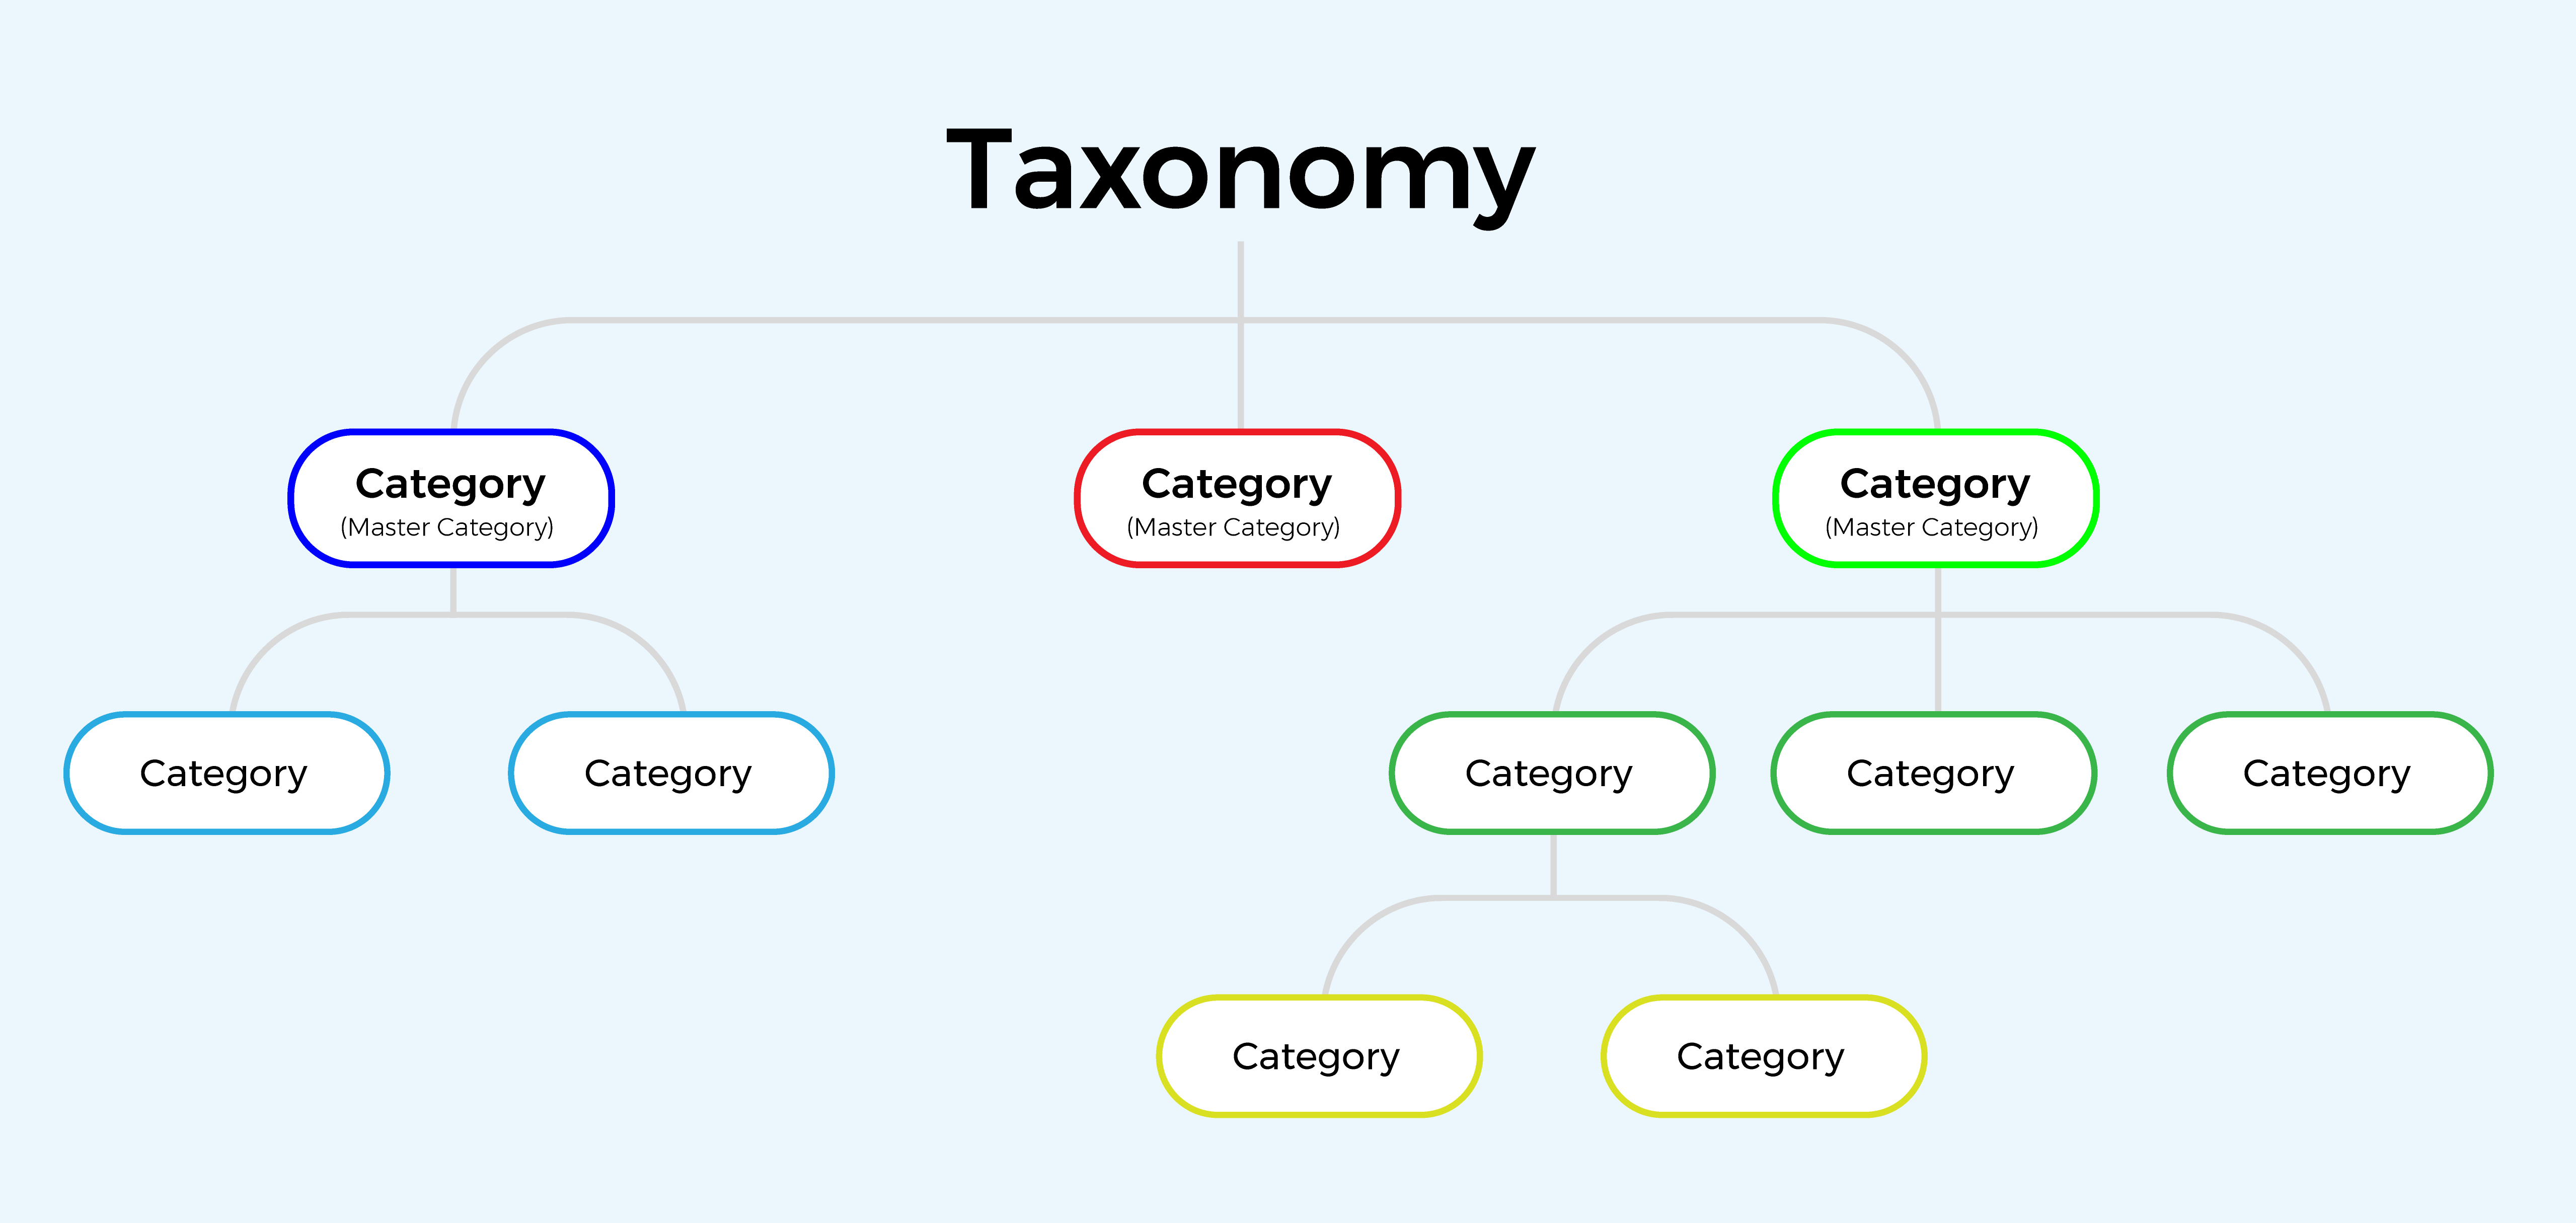
All of your product categories live within a Taxonomy. Your store will have one Taxonomy that it uses and the Product Categories within that Taxonomy will determine the grouping of products for your store. If you have more than one store, each store will have its own Taxonomy. If you want to build a new Taxonomy for your store, you can build it without it affecting your store. When you want it to go live, you just position the new Taxonomy in front of the old one.
Example of a basic hierarchy for product categories
Creating the taxonomy
A taxonomy record for your first store is created automatically when you run the install wizard from the StoreConnect Setup tab. To create additional taxonomies, do the following:
- From the StoreConnect Config app, open the Taxonomies list (
s_c__Taxonomy__c). - Click New.
- Enter a Name.
- (Optional) Set Position. If a store has more than one taxonomy, the store uses the one with the lowest position, so leave this blank until you are ready to switch stores over to a new taxonomy.
- Select the Store this taxonomy applies to.
- Click Save.
The taxonomy now appears on the store’s Taxonomies related list and is ready to hold product categories.
Creating a product category
The taxonomy the category will live in must already exist. Do the following for each category you need, including the master categories at the top of your tree:
- From the StoreConnect Config app, open the Product Categories list (
s_c__Product_Category__c). - Click New.
- Enter a Name. This is the internal record name, and it is also the fallback heading on the category page.
- (Optional) Enter a Display Name. This replaces the record name as the heading customers see on the category page, and in auto-generated menus and breadcrumbs.
- Select the Taxonomy the category will live in.
- (Optional) Enter a Path. StoreConnect generates one from the name when you save, but you can set your own as long as it is unique within the store.
- (Optional) Set Position. This orders master categories in the default menu, and is ignored when you use the menu builder.
- (Optional) Check Hide Category to keep the category out of auto-generated menus and the sitemap. The category page stays reachable at its path, so use this for a category you are still building rather than as a way to take it offline.
- Fill in the Content fields you need. All of them are optional.
- Title - Used as the page heading when Display Name is blank. The heading falls back through Display Name, then Title, then Name.
- Subtitle - A short line of supporting text. The default theme places it in the category sidebar, and a custom theme can position it elsewhere.
- Introduction Content - Appears above the product cards. Supports text, Markdown, and HTML.
- Information Content - Appears below the product cards. Supports text, Markdown, and HTML.
- Media - The image used on a Featured Category card.
- Fill in the SEO fields you need. All of them are optional.
- Meta Title
- Meta Keywords - Comma separated.
- Meta Description
- Social Image - The image used when the category is shared on social media. Falls back to Media when blank.
- Google Product Category - The Google product taxonomy value used in your merchant feed for products whose primary category is this one. Start the value with the numeric Google category ID, for example
1604 Apparel & Accessories > Clothing.
- Click Save.
The category is now live at /<path> on your storefront, for example /womens-clothing.
:::note Introduction Content and Information Content are the only content slots that render on a category page, which is why both accept Markdown and HTML as well as plain text. The Content Blocks Product Categories related list on the category record does not add content to the page: it links the category to a Featured Categories content block somewhere else on your site. :::
:::note More on position: records with a position are shown in order first. Records without a position are then shown in alphabetical order based on the record name. :::
Creating the product category hierarchy
After you have created all the categories to make up your master categories and the rest of the product category tree, you can arrange your category hierarchy.
- Open one of your categories that will be a master category.
- Go to the Children of this Category related list (
s_c__Product_Category_Hierarchy__c) and click New. - Search for and select the Child Category you want to add.
- (Optional) Set Position. This orders the categories within this parent.
- (Optional) Check Is the primary parent of the child if this parent is the one to use when building breadcrumbs. If a child has more than one parent marked as primary, the one with the lowest position is used.
- Click Save.
Repeat for each child category until the tree is complete. The child categories now appear under their parent in the default header menu and in breadcrumbs on the child category pages.
Adding products to a category
For instructions on how to add your products to a category, see Adding products to categories.
Was this article helpful?
Thanks for your feedback! It helps us improve our docs.